.png)


17 May, 2022
How to Clean Ceramic Tiles | Ceramic Tile Maintenance & Care
Don't you know how to clean ceramic tiles? You can easily clean ceramic tiles in...
/ 08 January 2023
After time passes, we all see water damage in the shower.
Of course, you can live with a tiny portion of water damage. But the real problem surfaces when you see dangerous puddles, including nasty stains. Not to mention, retailing is a big expense, and removing tiles is not a feasible option every time.
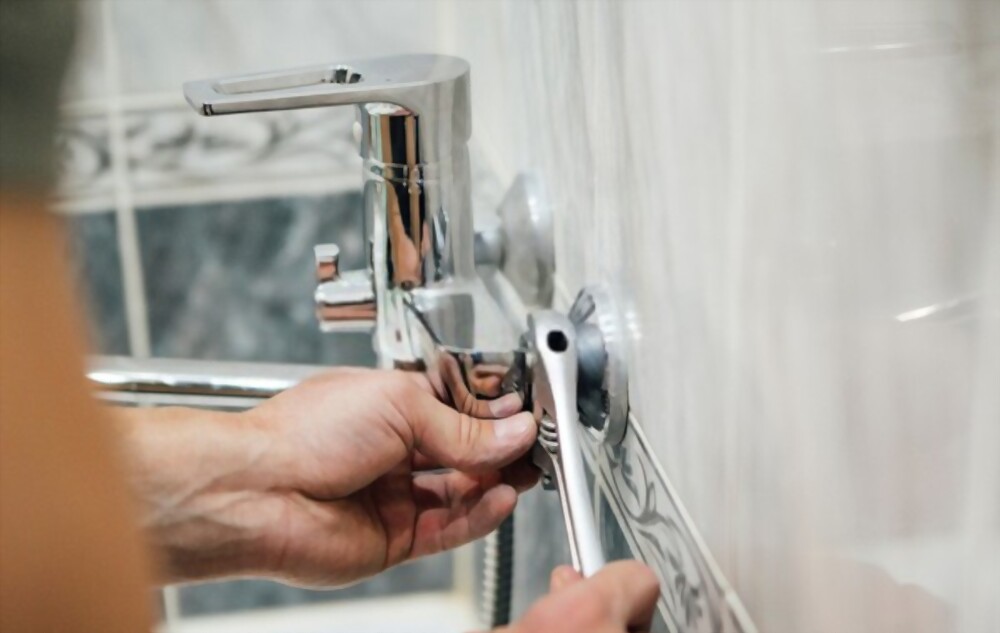
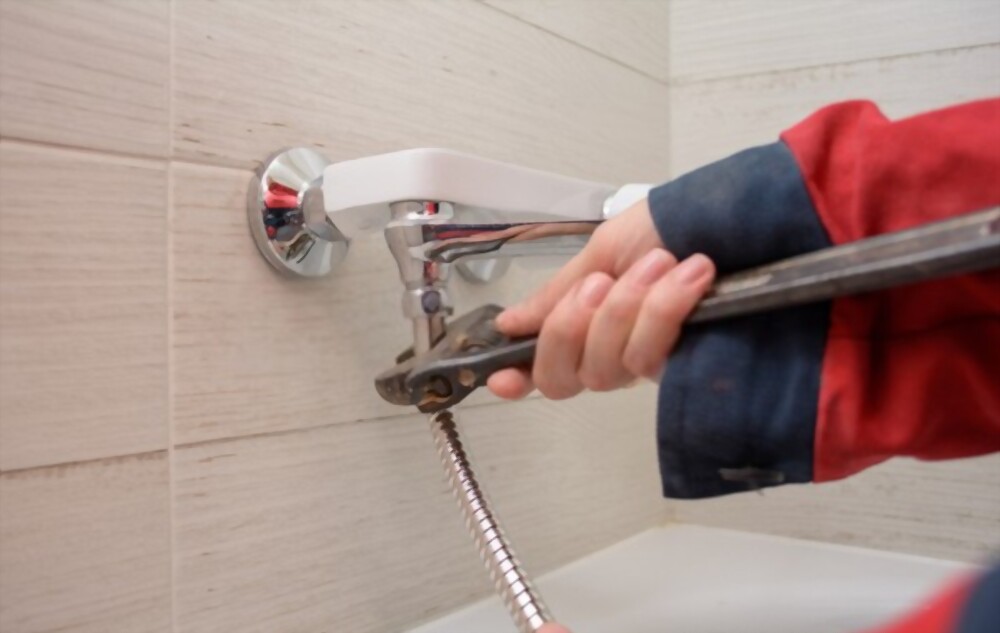
Looking for a simpler bathroom tiles leakage solution? This blog will teach you how to fix leaking shower without removing tiles.
Before you check the process, know that people usually don’t retile because removing the leak permanently is difficult.
Also, unless your tiles are badly chipped and cracked, you don’t have to take them out.
Anyway, you can’t fix the leak forever. But you can improve the condition.
Let’s check the process to bring back the safe and nice shower.
Overview of the Whole Process to Fix Leaking Shower without Removing Tiles:
The following section expands the steps one by one. Let’s get a clearer idea of the process.
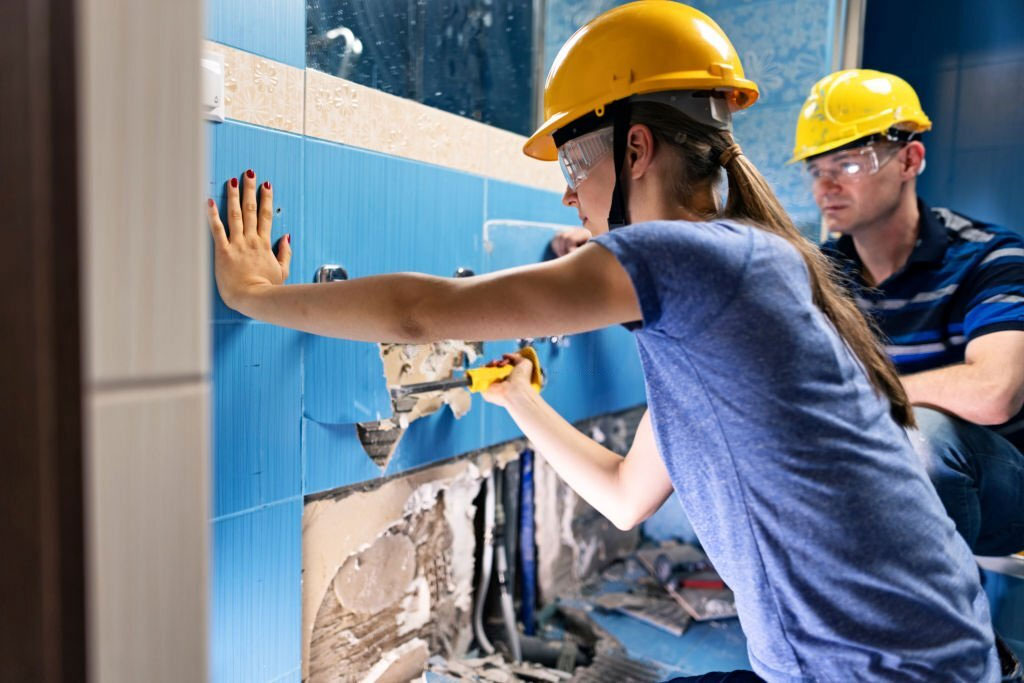
After finding leak in tiled shower, you need to remove all the grout. That includes both deteriorated and undamaged grouts. This is the first step step of how to fix leaking shower without removing tiles.
But, why the undamaged parts?
Leaking has this nature of spreading little by little. So, the surface of the grout might look okay, but underneath, it is most likely to be damaged. This is why you need to remove grouts entirely.
Supplies Needed:
First, wear the safety goggles and add the sharp blade to a rotary tool.
Now, gently run the rotary tool in all the grouts. If you press too hard, you can damage a water line or brick under the tiles.
Also, keep your hand steady to avoid scraping the tiles.
Add a dull blade and flathead screwdriver to take out grouts cleanly.
After removing the grout, the lines will be filled with excess dust and grout debris. So you need to clean the lines of the tile completely.
Supplies needed:
Using a hand broom and dustpan, sweep up the waste from the grout removal process.
Also, vacuum the lines to clean the remaining light dust or bigger particles.
You must wait 2 to 3 days to regrout. It’s needed to dry the mold and mildew build-up in the lines from the leak.
So, prepare your shower as instructed to start regrouting. This step might sound complicated, but it is simple and easy.
Supplies needed:
Tip: If you have one or two cracked and chipped tiles, replace them.
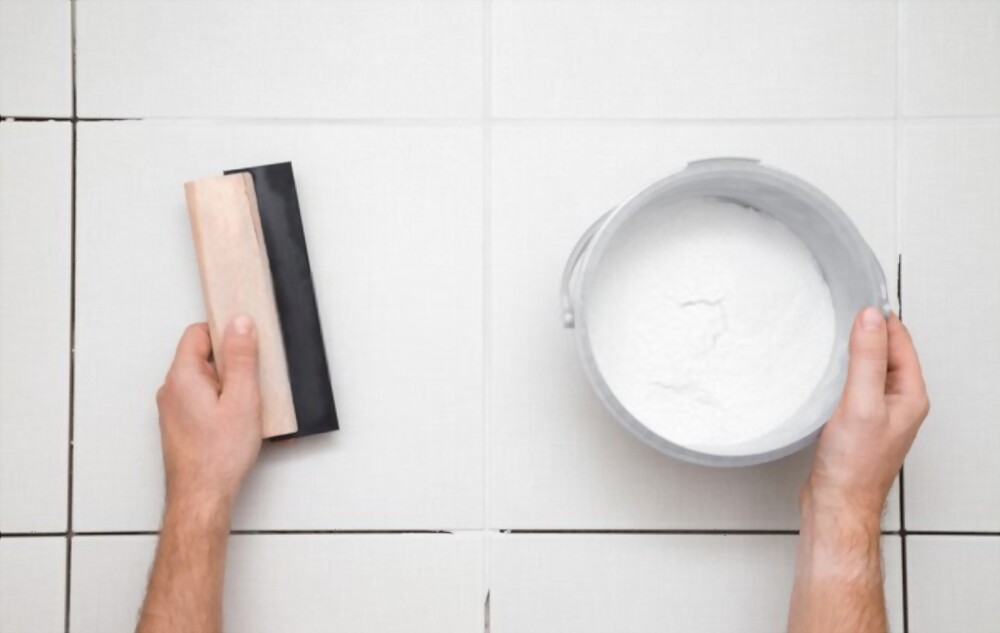
You can use premixed grout paste. Or you can buy powder and make a thick paste by yourself. This is straightforward, as you will need water to make the paste.
To carry out this step of how to fix leaking shower without removing tiles, put on the safety gloves first.
Now, take a big blob of grout paste on the grout spreader. With big strokes, apply the paste between the tile's line.
This will spread grout paste on the tile surface. You need to remove those before they solidify.
So, keep a bucket and sponge near you. This way, you can immediately dunk the sponge in the water and clear paste residue from the tiles.
When the grout hardens a little, you next use the grout shaper.
Smoothly pass the shaper across the grout lines.
Recheck all the grout lines to see if they are completely filled. This way, you complete regrouting the entire shower.
Like the third step, you must allow the grout to dry out. Otherwise, you can’t clean the tiles at this stage and prepare them for the next step of fixing leaking shower without removing tiles.
Thus, wait till the grout solidifies. It will take a while. But you can make drying faster by keeping the shower doors and window open. Or you can use a stand fan.
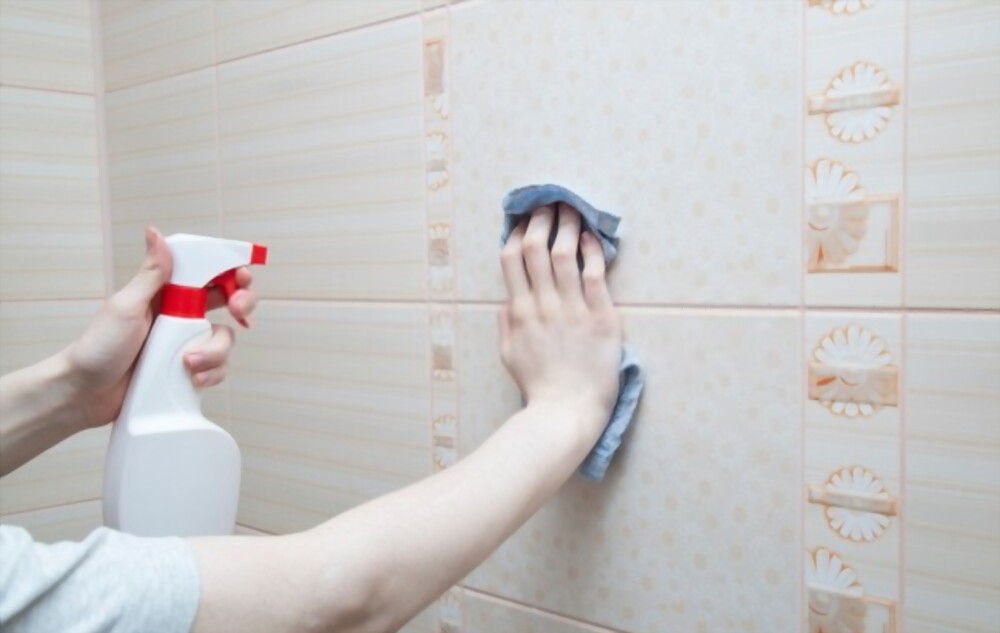
Once the grout is dry, cleaning won’t require much effort.
Supplies needed:
First, give the shower a good wash with warm water. After that, clear the whole shower using a sponge. It’ll loosen and remove the remaining layer of dust and waste.
And it’ll be easier and more effective if you avoid using a sponge in random motion. The trick is to use it in a circular motion. This way, you are very unlikely to have any space uncleaned or half-cleaned.
Before starting the next step, you must let the shower dry again.
In this step, you will learn how to seal leaking shower tiles without removing tiles.
You need to seal the tile joints with silicone too. This includes sealing the internal floor as well. Applying silicone can be tricky if you are a beginner.
Naturally, you will find it difficult to keep your hand steady. As a result, the lines will be wiggly. You can use masking tape to avoid wavy lines.
Supplies needed:
Seal the tiles partially with masking tape. You need to cover the edges of the tiles.
Next, apply silicone across all the lines, following the sides of the masking tape around the joints.
Go a bit slow, or the sealing will be filled with air gaps.
Apply the second layer once you are done applying the first layer. Use a silicone wipe to give the sealing lines a smooth finish.
You can clear and seal the internal floor the same way.
Finally, let the silicone dry. It won’t take long. By pressing with a finger, you can check if it has dried.
This can keep the shower leak and stain-free for as long as 10 years!
So, why not do it? Besides, the step is like an easy wall painting task.
Supplies needed:
Putting on the gloves, dunk the paintbrush into the waterproofing sealant. Using the paintbrush apply the sealant all over the walls and floor of your shower.
Next, wait for the sealant to dry.
Use the paint roller to apply the sealer once again.
To avoid unsealed spaces, apply the sealant with two different brushes. Unsealed space will be prone to be stained.
Yes, a surface can be waterproofed without removing the tiles. A tiled surface can be made waterproof using a variety of techniques.
Membranes for waterproofing: These are sheets of material that can be affixed over the tiles already in place. They can be used to create a barrier that stops water from accessing the surface and are attached to the surface using a particular adhesive.
Paint for waterproofing: You can paint over the tiles with specialized paints to make a barrier that is impermeable to water. To guarantee that they offer sufficient protection, these paints are typically applied in many applications.
Grout waterproofing: The grout between the tiles can potentially allow water to seep through. Use waterproof grout or seal the grout lines to stop this from happening.
It is crucial to keep in mind that these techniques might not work for all kinds of tiles or surfaces, and it is always better to seek professional advice before beginning any waterproof operation.
There are different methods available to fix a leaking shower without removing tiles. But the one mentioned here is so far the best method. And the method is equally popular for professionals and DIY workers at home.
We hope these instructions help you fix your leaking shower without turning any tiles. However, make sure you handle the issue as early as possible. Or the leak will get worse. Next, you will have to hire a bathroom contractor, which costs you thousands.
Don't you know how to clean ceramic tiles? You can easily clean ceramic tiles in...
Whenever we think of a home improvement or remodeling project, we often start fe...
Grimy bathroom tiles? Have you tried many ways but couldn’t get a satisfac...
Porcelain tile is one of the strongest and most adaptable choices as a durable f...
Are scratches visible on your ceramic tiles? Do you want to learn how to re...
Do you get bored in the kitchen even though you love cooking a lot? Doesn't it e...