August. The top month for produce. Everything coming into the green markets. All those gorgeous tomatoes, the fruits, eggplants of every shape and size. And peppers. So many shapes. So many sizes. So many colors. So many types. I love roasted peppers. Roasting peppers was the first cooking skill I learned. Put peppers under broiler, turn when blackened, take out of oven, put in paper bag to steam, clean skin, put in jar, eat. From opening the oven door to ingestion, probably an hour of mindless work, but so satisfying. But seriously, how many roasted peppers can you eat?
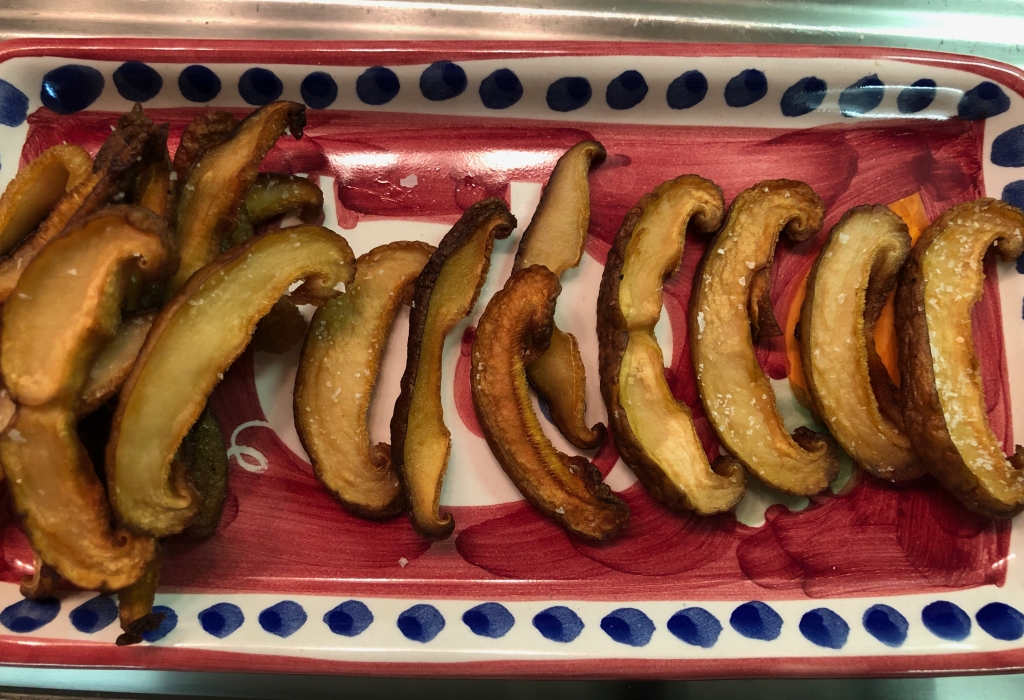
I saw an article on seriouseats.com about shishito pepper cream. I love shishito peppers but the only way I have eaten them is dry roasted on a cast iron skillet until softened and topped with coarse sea salt. Mind you, that is a really delicious nibble, but again, how many times can you eat them (especially if your other half doesn’t eat them)? This cream thing intrigued me so I gave it a try. Delicious. For eight medium sized peppers you will need a sliced clove of garlic, a sliced shallot, a tablespoon of olive oil, 1/4-1/3 cup of heavy cream, a tablespoon of Parmigiano Reggiano (more if you love cheese), and grated nutmeg. Thinly slice the peppers crosswise. Heat the olive oil over medium flame. Add the peppers along with the garlic and shallot and saute until softened. (A nod to Jacques Pepin, I add a bit of water to the pan at the start when sautéing vegetables. It melts the vegetables before they brown too much and when the water has evaporated, the veggies are softened enough so that they are perfectly cooked. The man is a genius.). When the mixture is done, add the heavy cream and turn the heat up a bit, you want to boil the cream down with the peppers to make a sauce. How thick or thin is a personal choice, I went thicker, will explain why in the next paragraph. When the mixture has reached your desired consistency, take off heat, add cheese and nutmeg. Stir. It can be used right away or refrigerated.
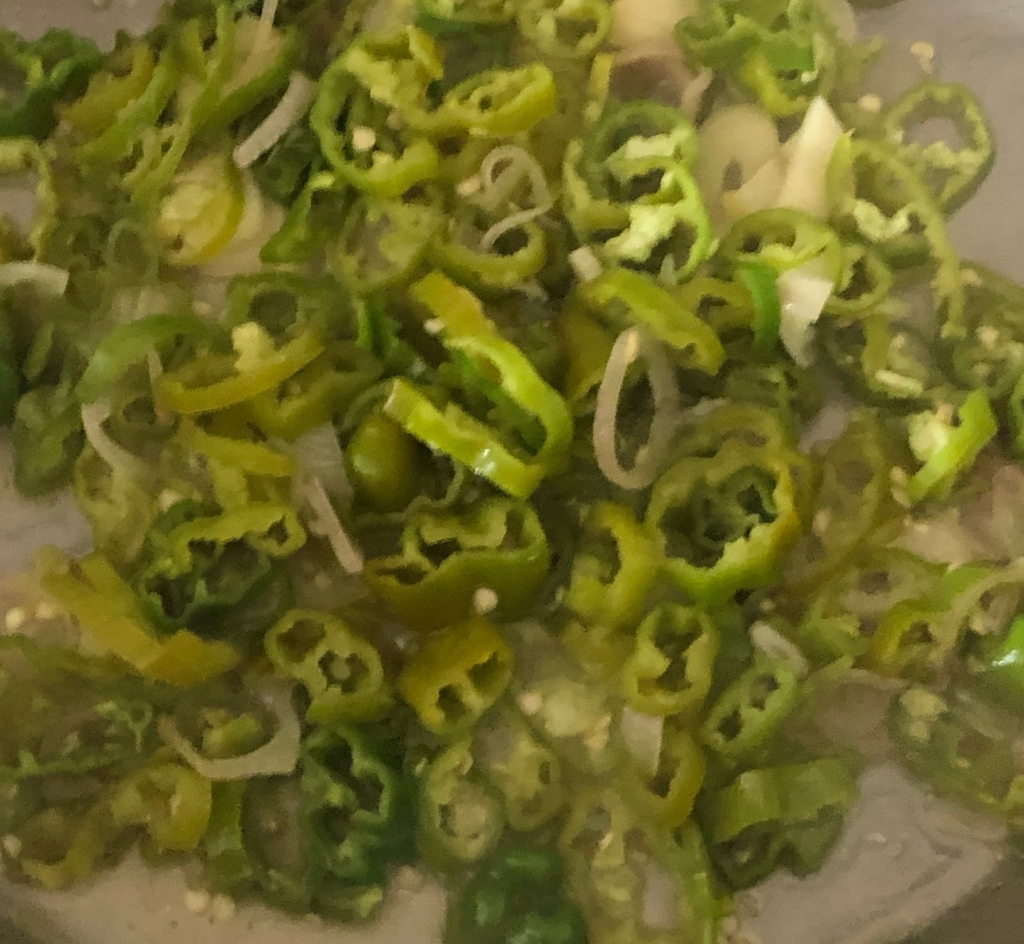
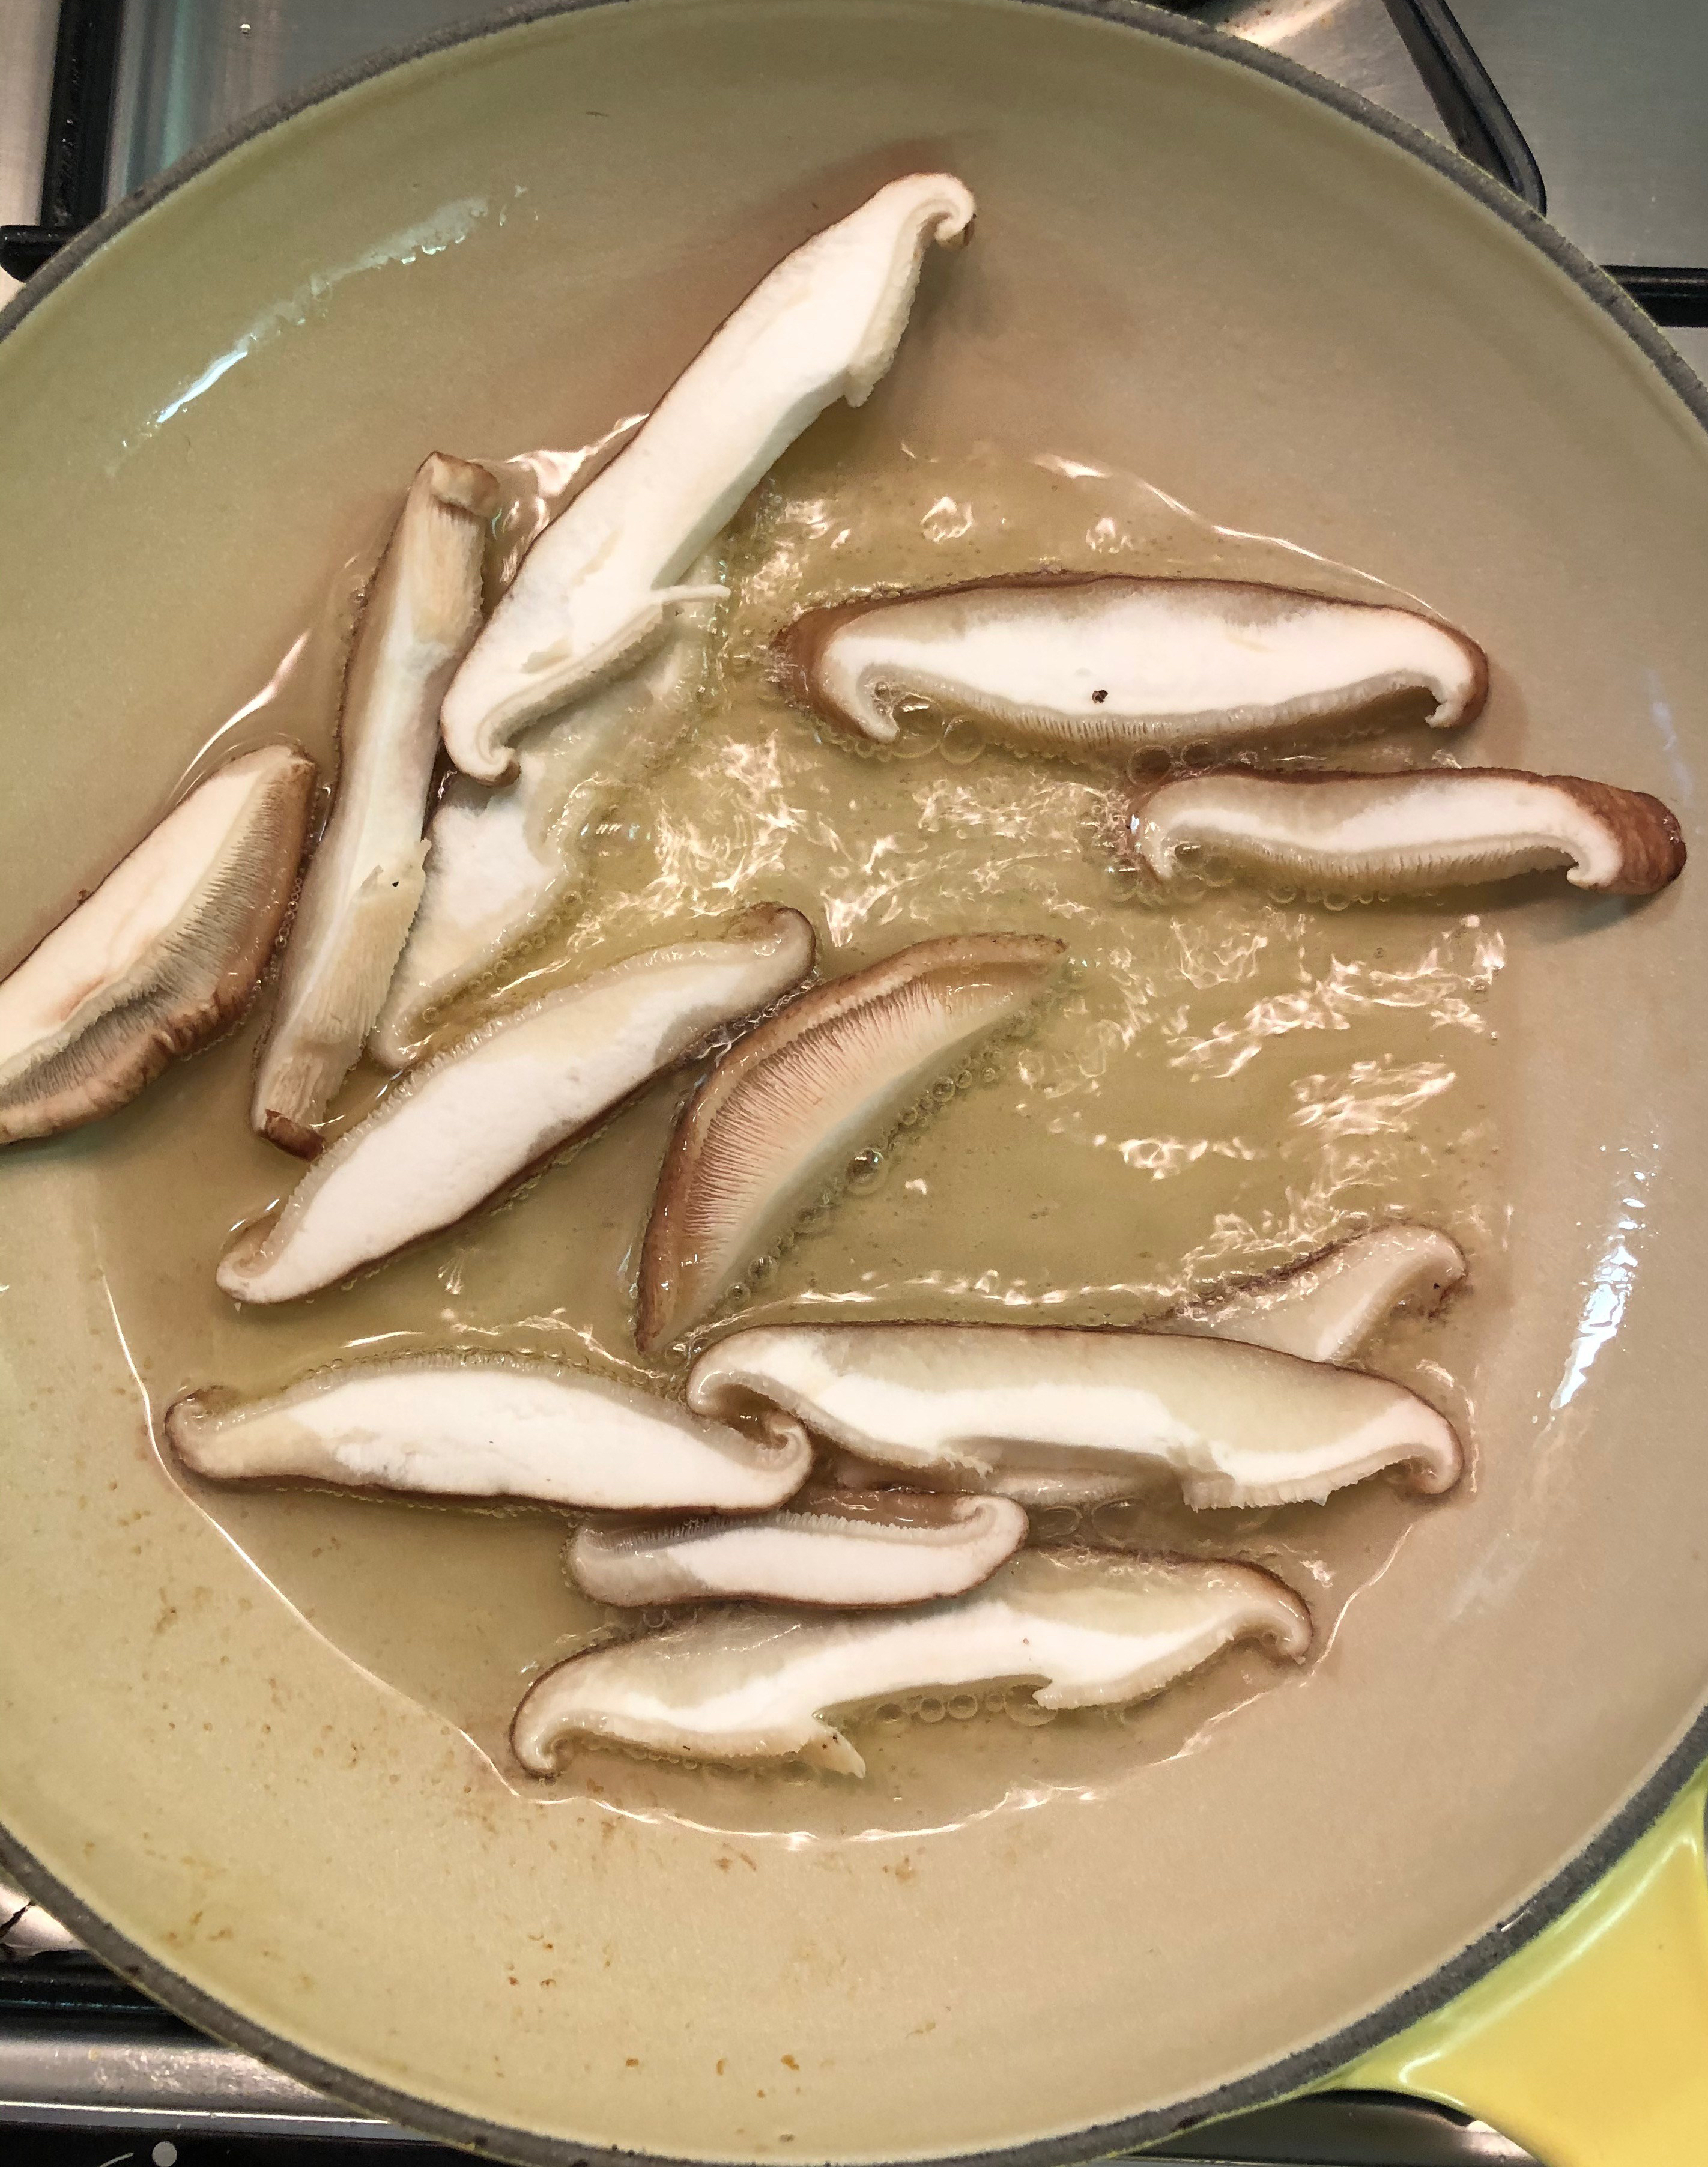
saute 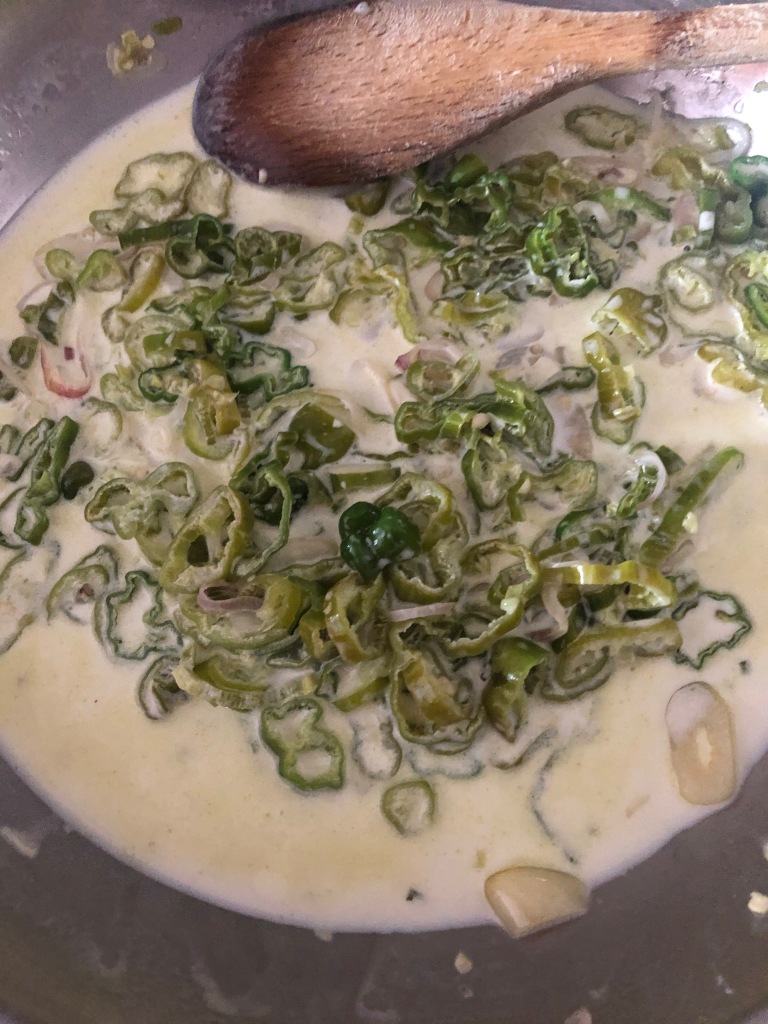
cream added 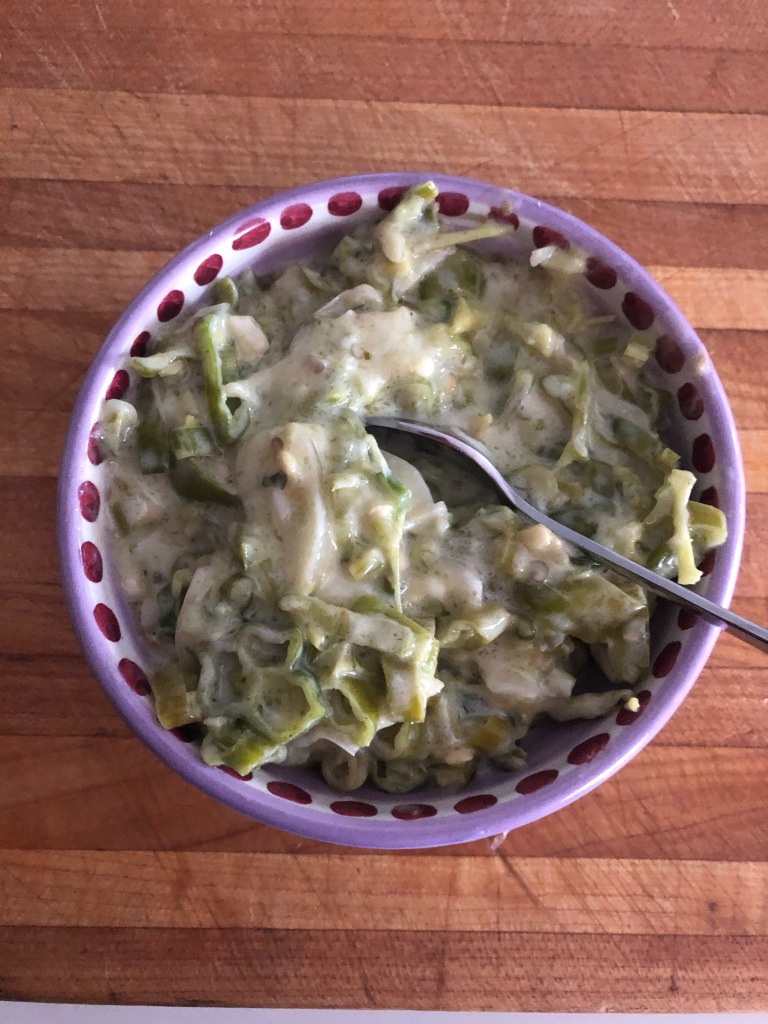
finished!
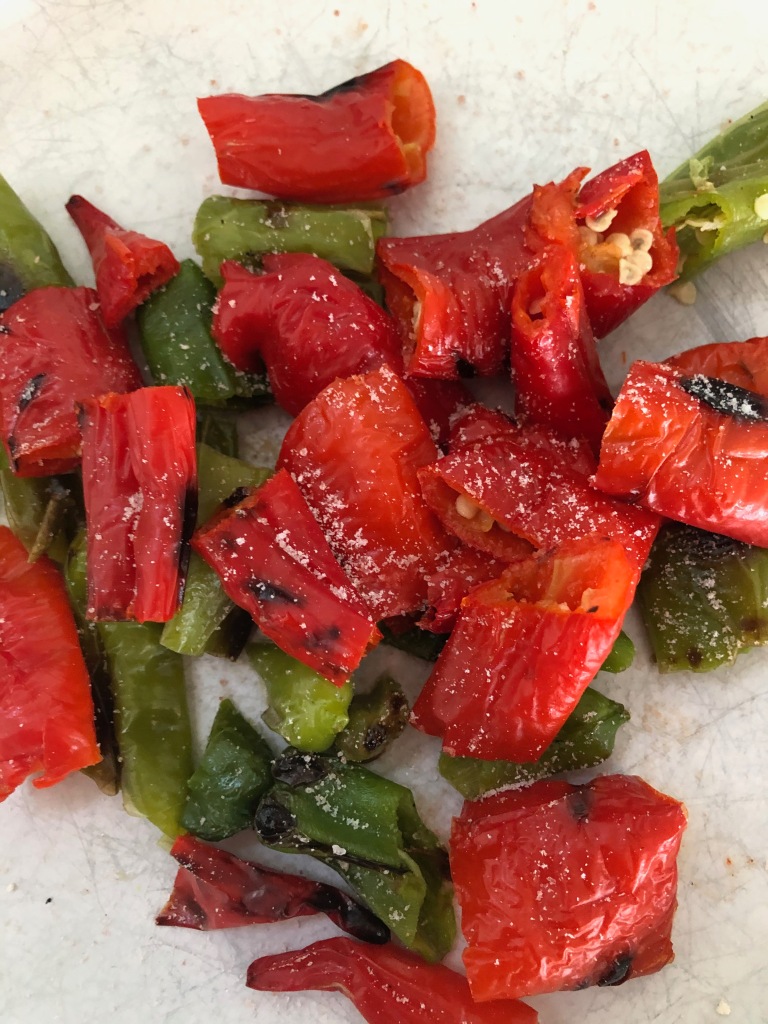
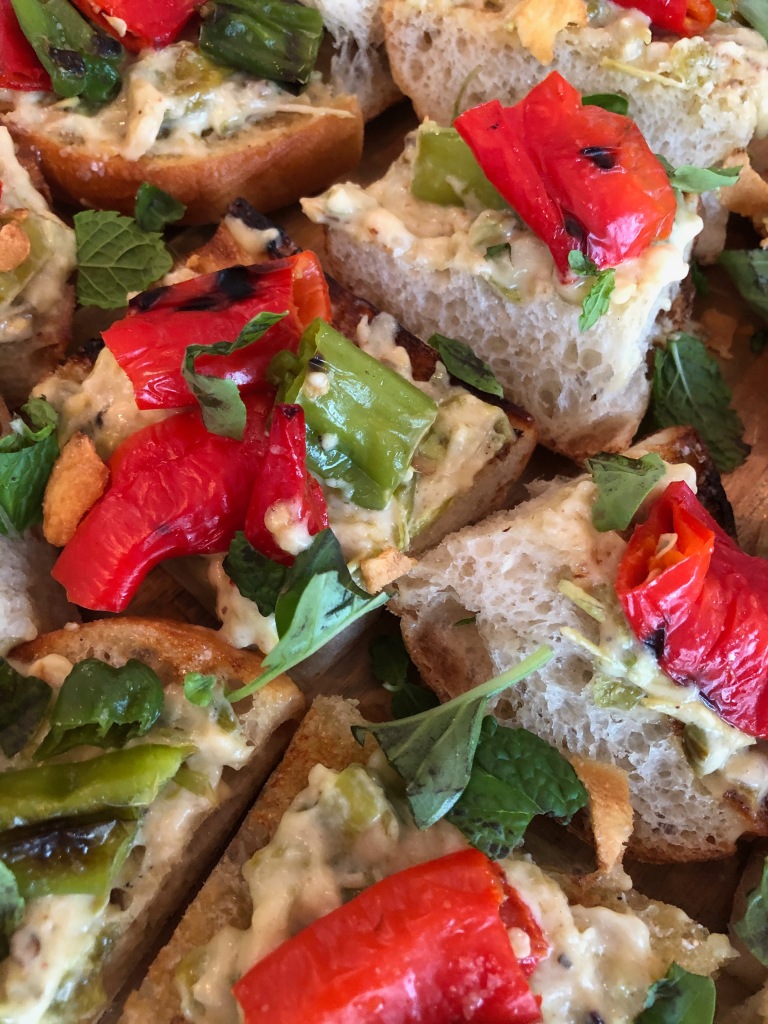
Now I have this thick beautiful and creamy butter like sauce. How to use you ask? Well, I had also bought Nardello peppers (https://blog.gardeningknowhow.com/tbt/jimmy-nardello-italian-peppers/) and had some green shishitos left over so I dry roasted both. I also had ciabatta bread which I grilled rubbed with garlic topped with a light brushing of olive oil. I then buttered the bread with my thickened shishito pepper cream and topped with the roasted and chopped Nardello and Shishito peppers. Can be used as a spread for any sandwich. Think grilled eggplant. Think sliced tomato. Think whatever you like!
There you have it. And it being August, open a bottle of Rose’ and be happy.