CHEATER PORCHETTA

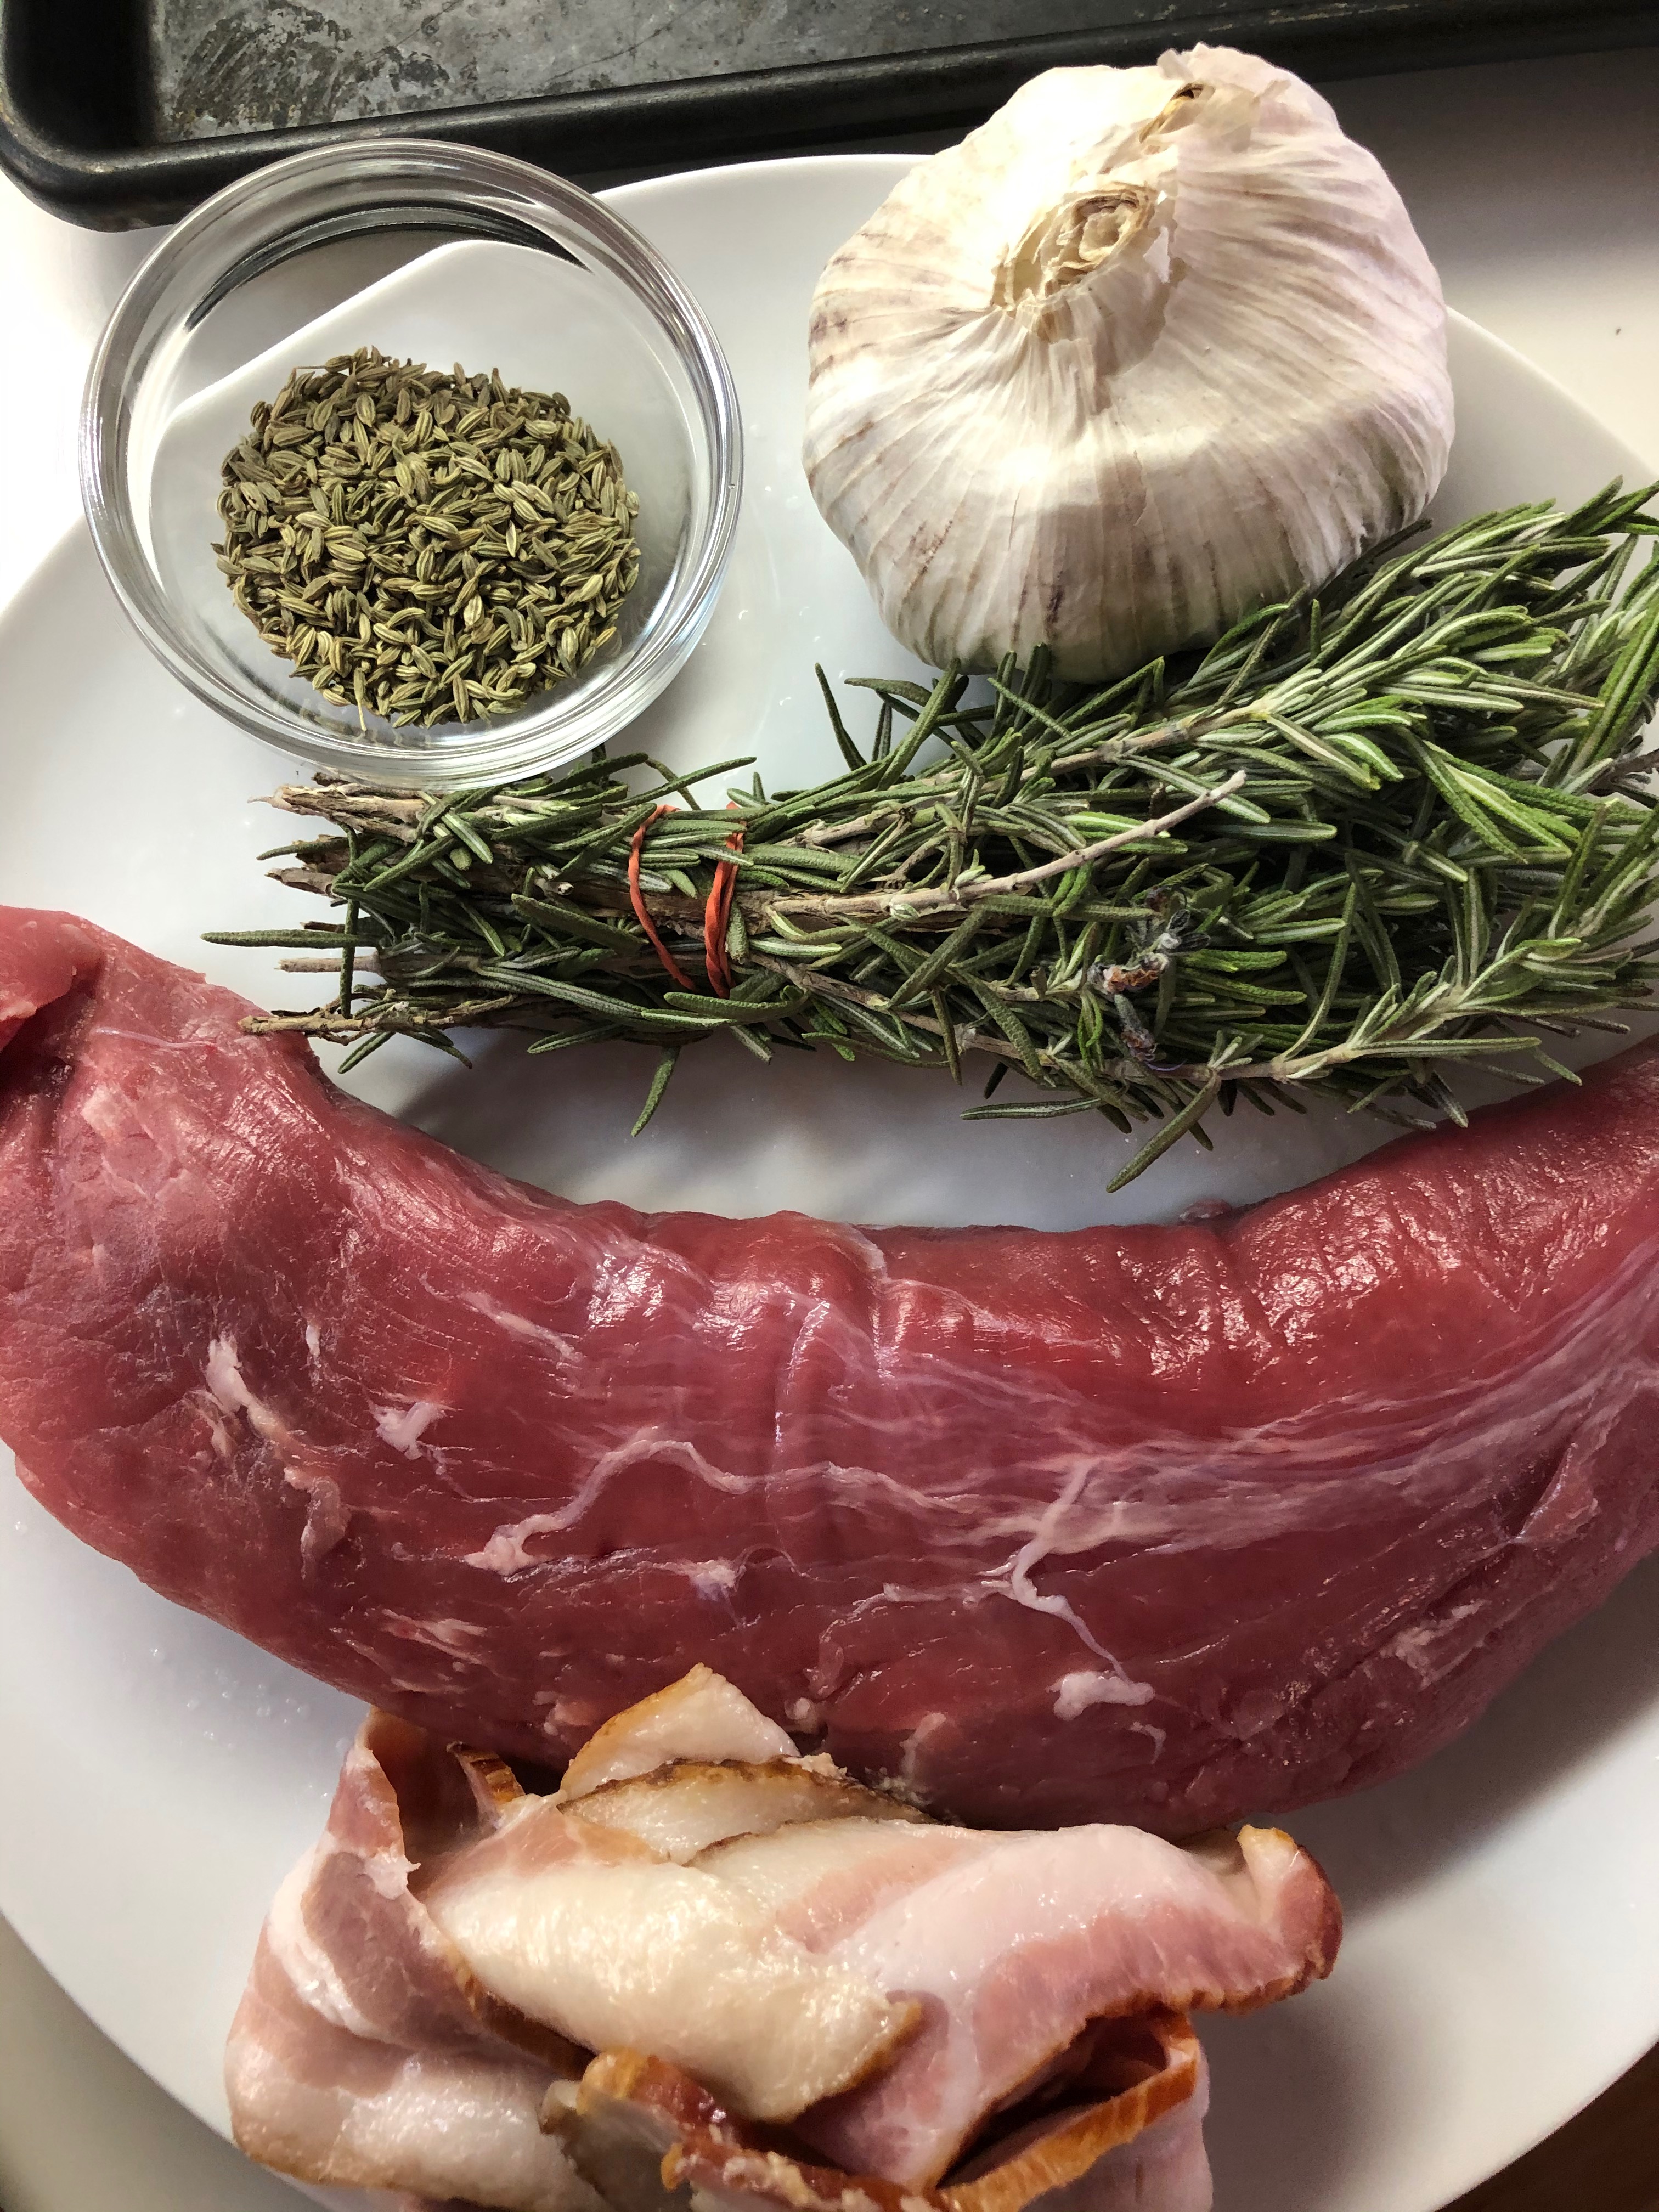
I saw this recipe on “ITALIAN SONS AND DAUGHTERS” website so I do not claim it as my own. Having said that, I thought it was too, too good not to share. I love porchetta but it takes forever to make and is usually too large for dinner for 2-4 people. This recipe is ingredient friendly, easy to prepare, and perfect for Sunday dinner or a small dinner party. You will get all the flavor of the larger roast plus all the crispy bits from the pork skin. What you need is a tablespoon of fennel seeds, about a tablespoon of chopped garlic (more or less according to your taste) and a garlic head sliced in half across the equator (optional, but why not??), a tablespoon of chopped rosemary and a few sprigs (3-4) set aside, olive oil salt and pepper, a pork tenderloin and the thing that makes it porchetta, 4-5 slices of BACON!

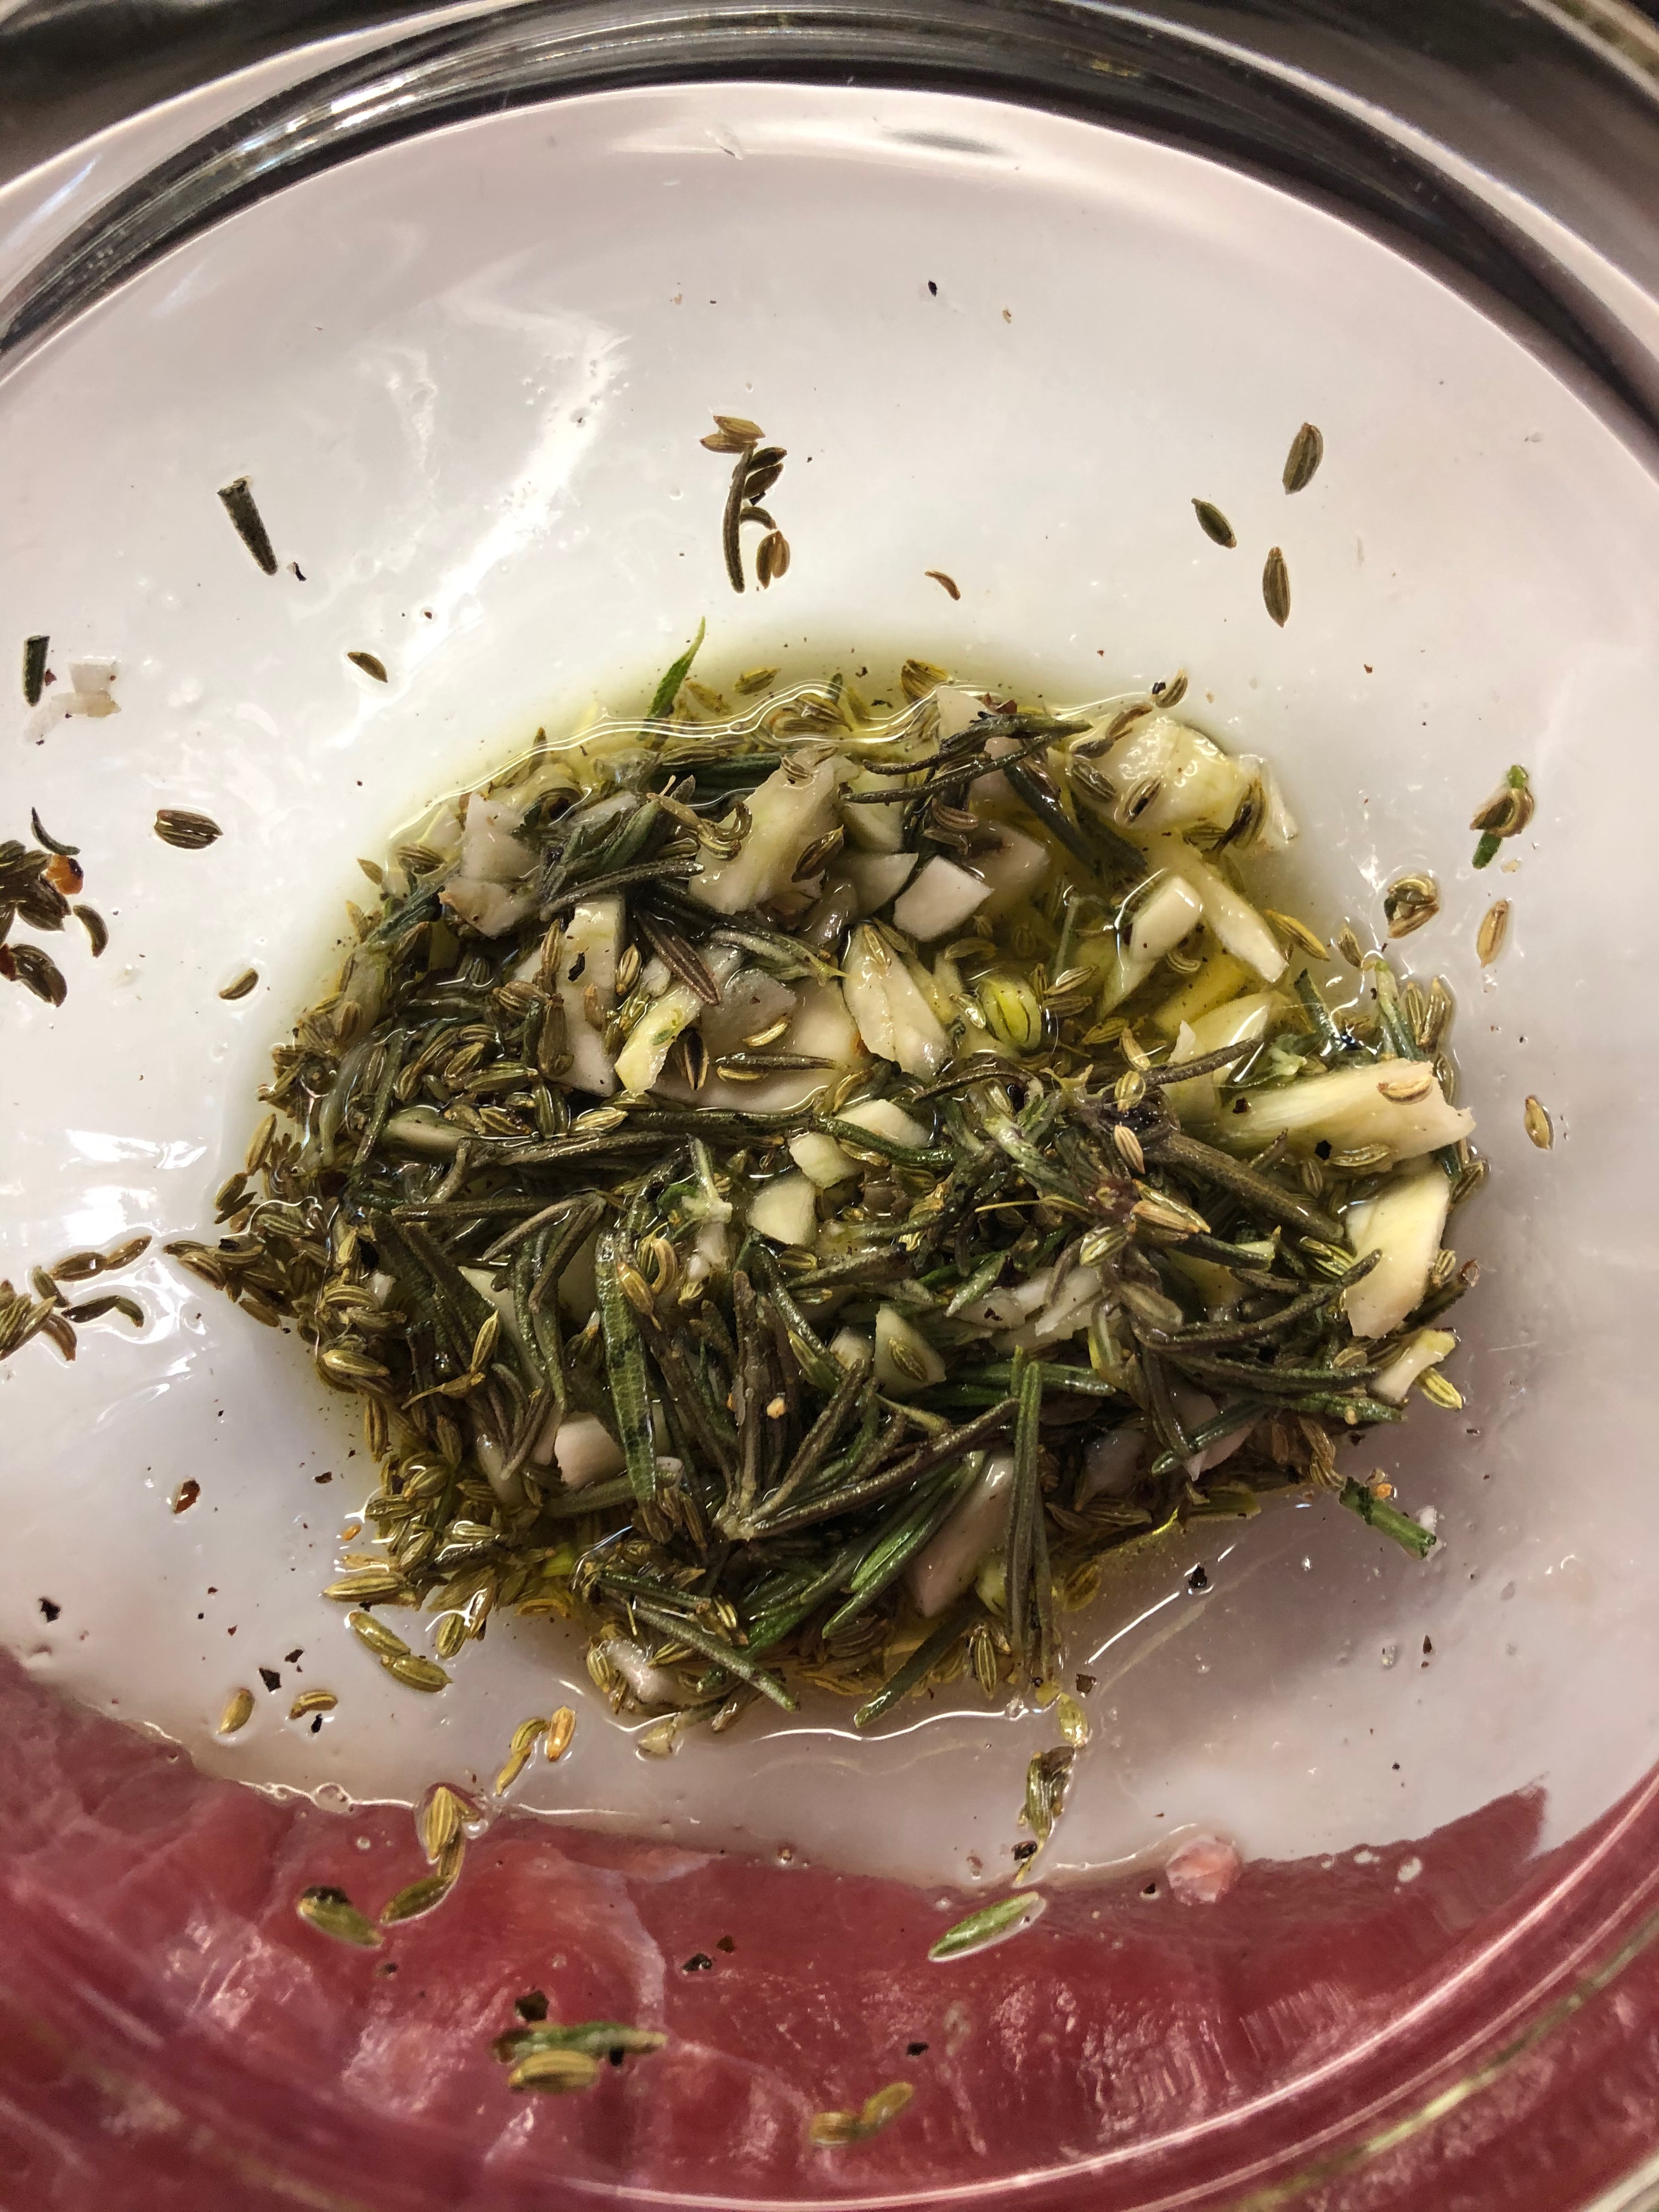
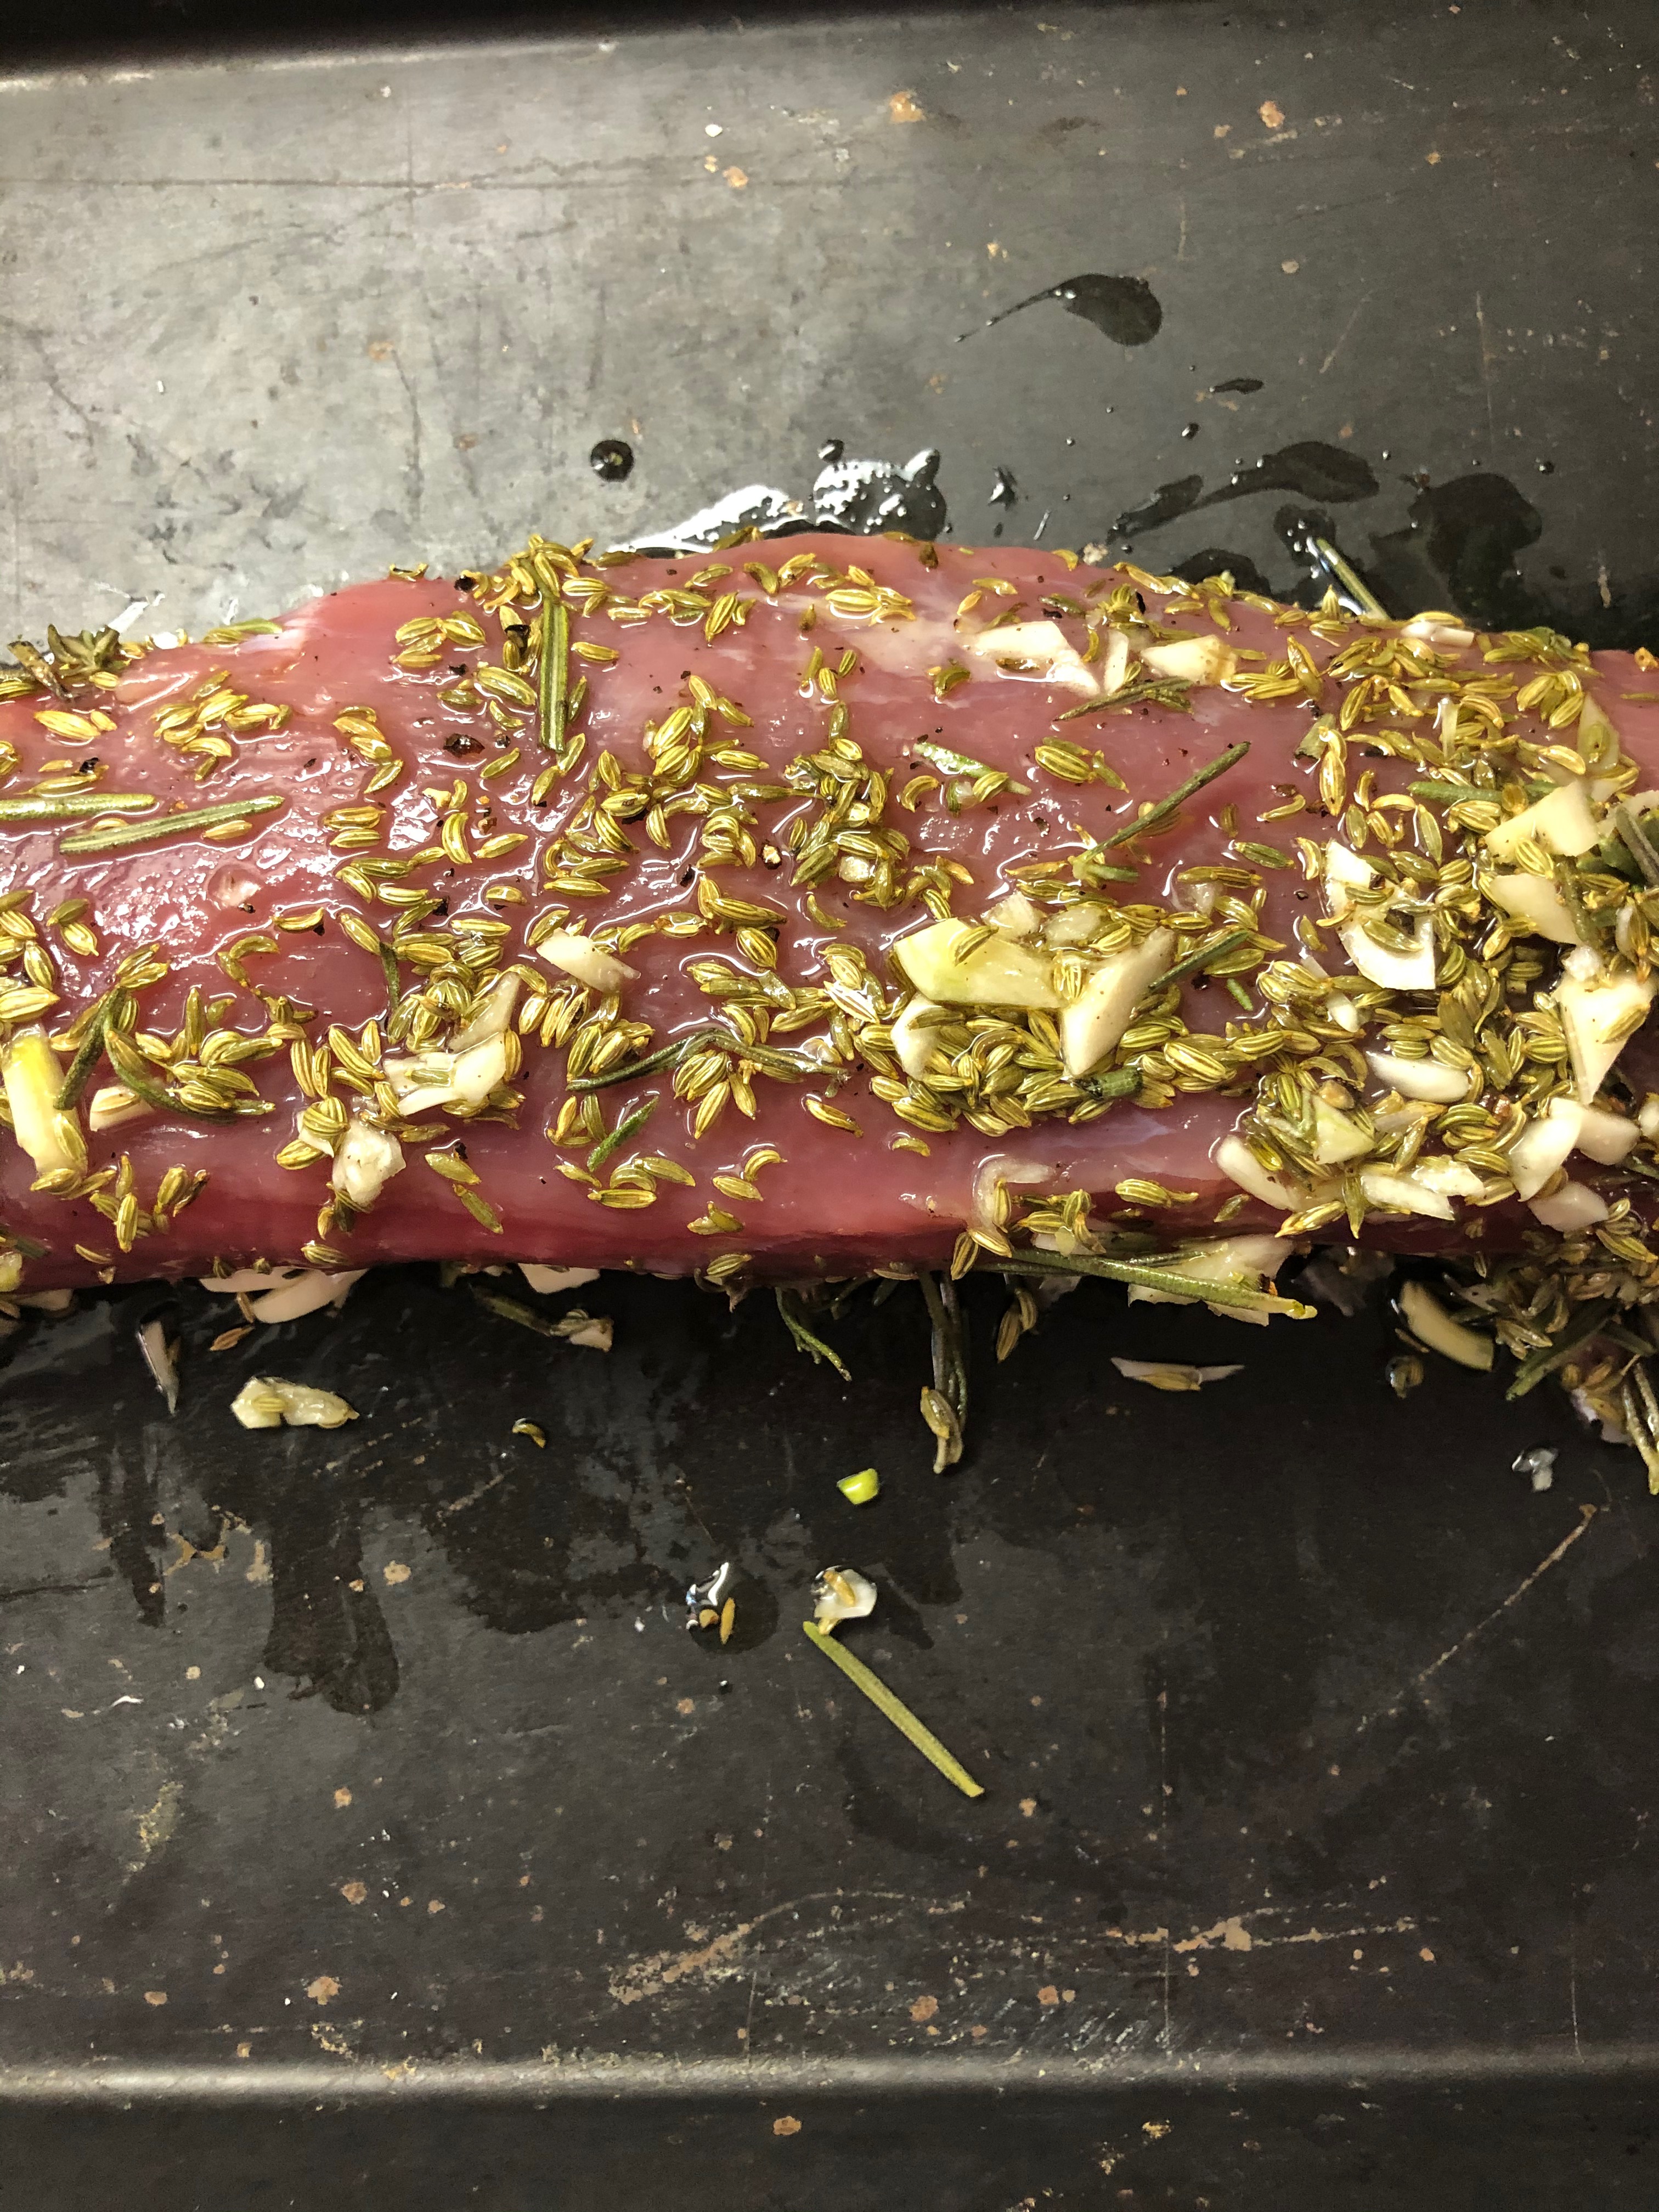
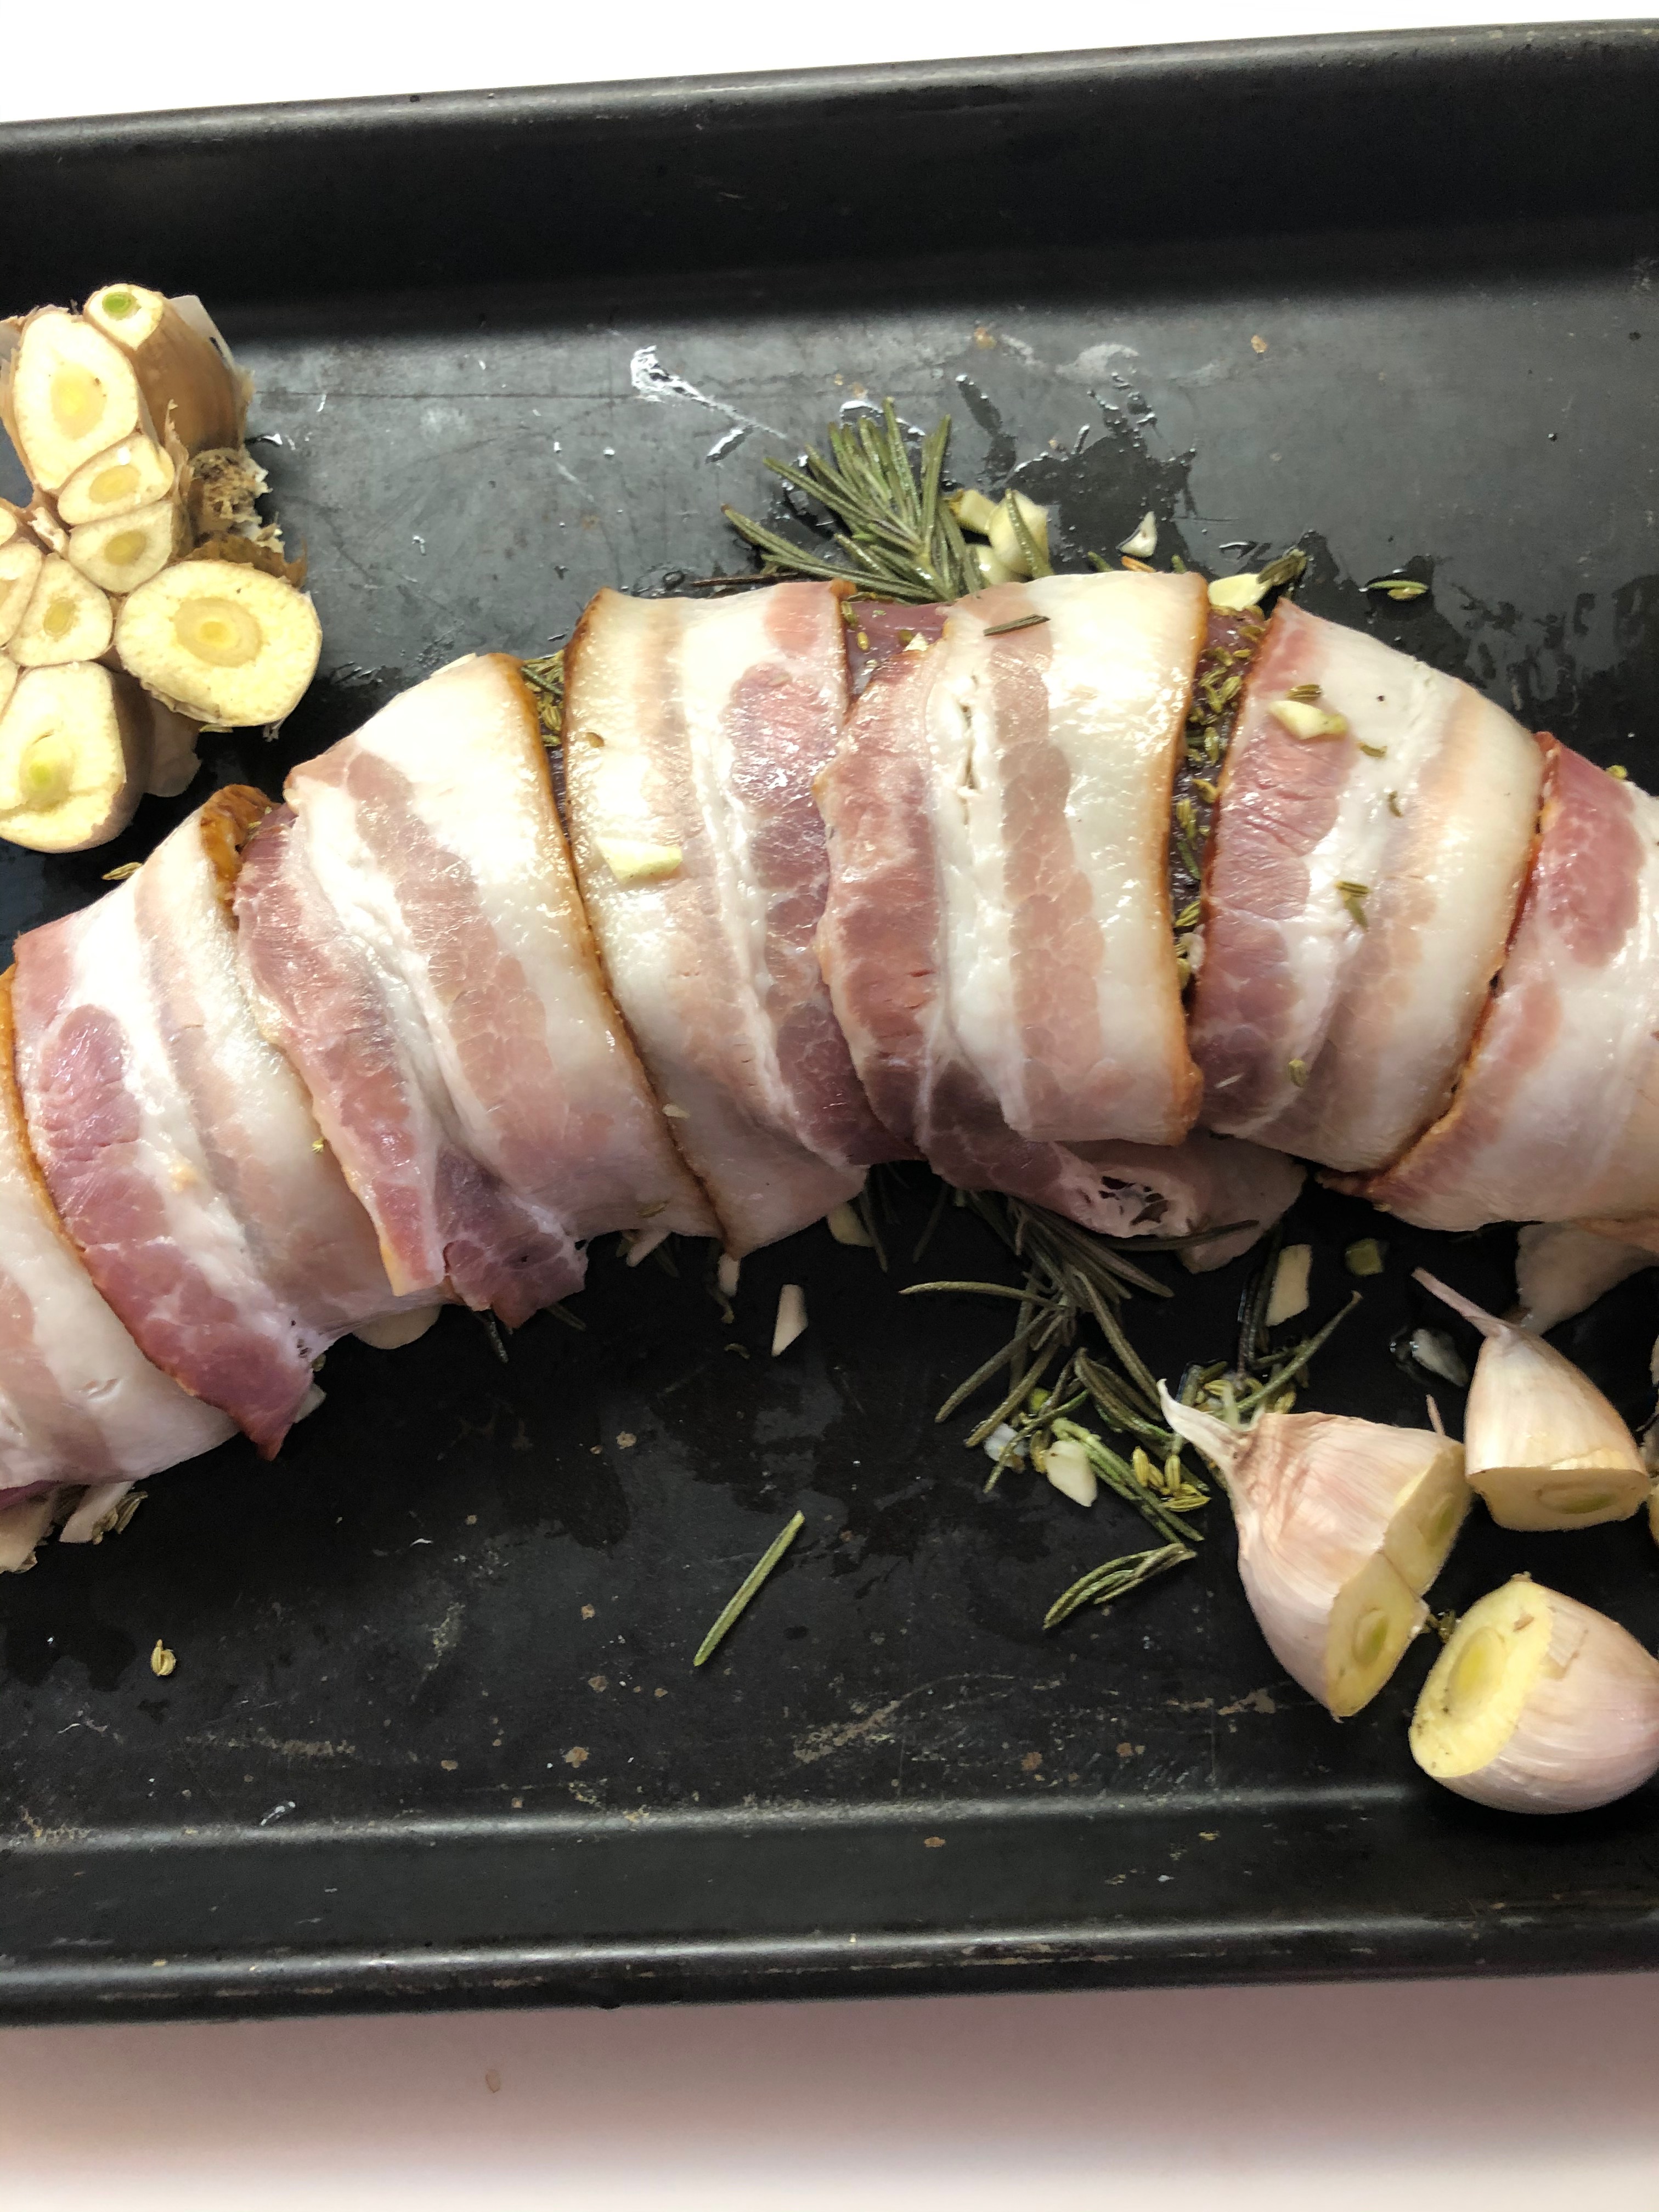
Start by combining the fennel, chopped garlic, chopped rosemary, salt and pepper, and olive oil to make a paste. Rub the mixture over the pork loin. Place the rosemary sprigs onto an oiled baking dish and place pork loin on top. Now wrap the loin with the bacon slices making sure to tuck the ends under the pork. Place pork into a 425 degree oven, if using convection to roast, use the temperature for your oven. Roast for 30-45 minutes depending on style of cooking, but start testing at 30 minutes. You want the internal temperature to be 145 degrees. Let rest tented for 10 minutes before serving. See? Easy.
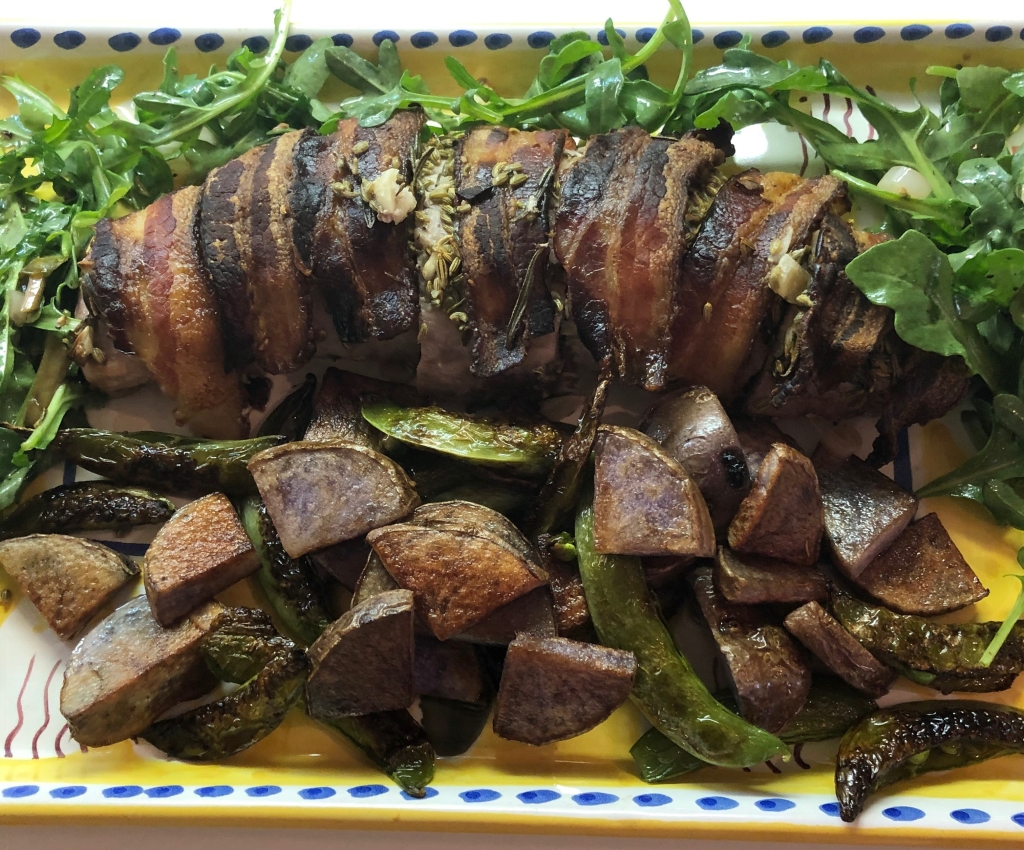
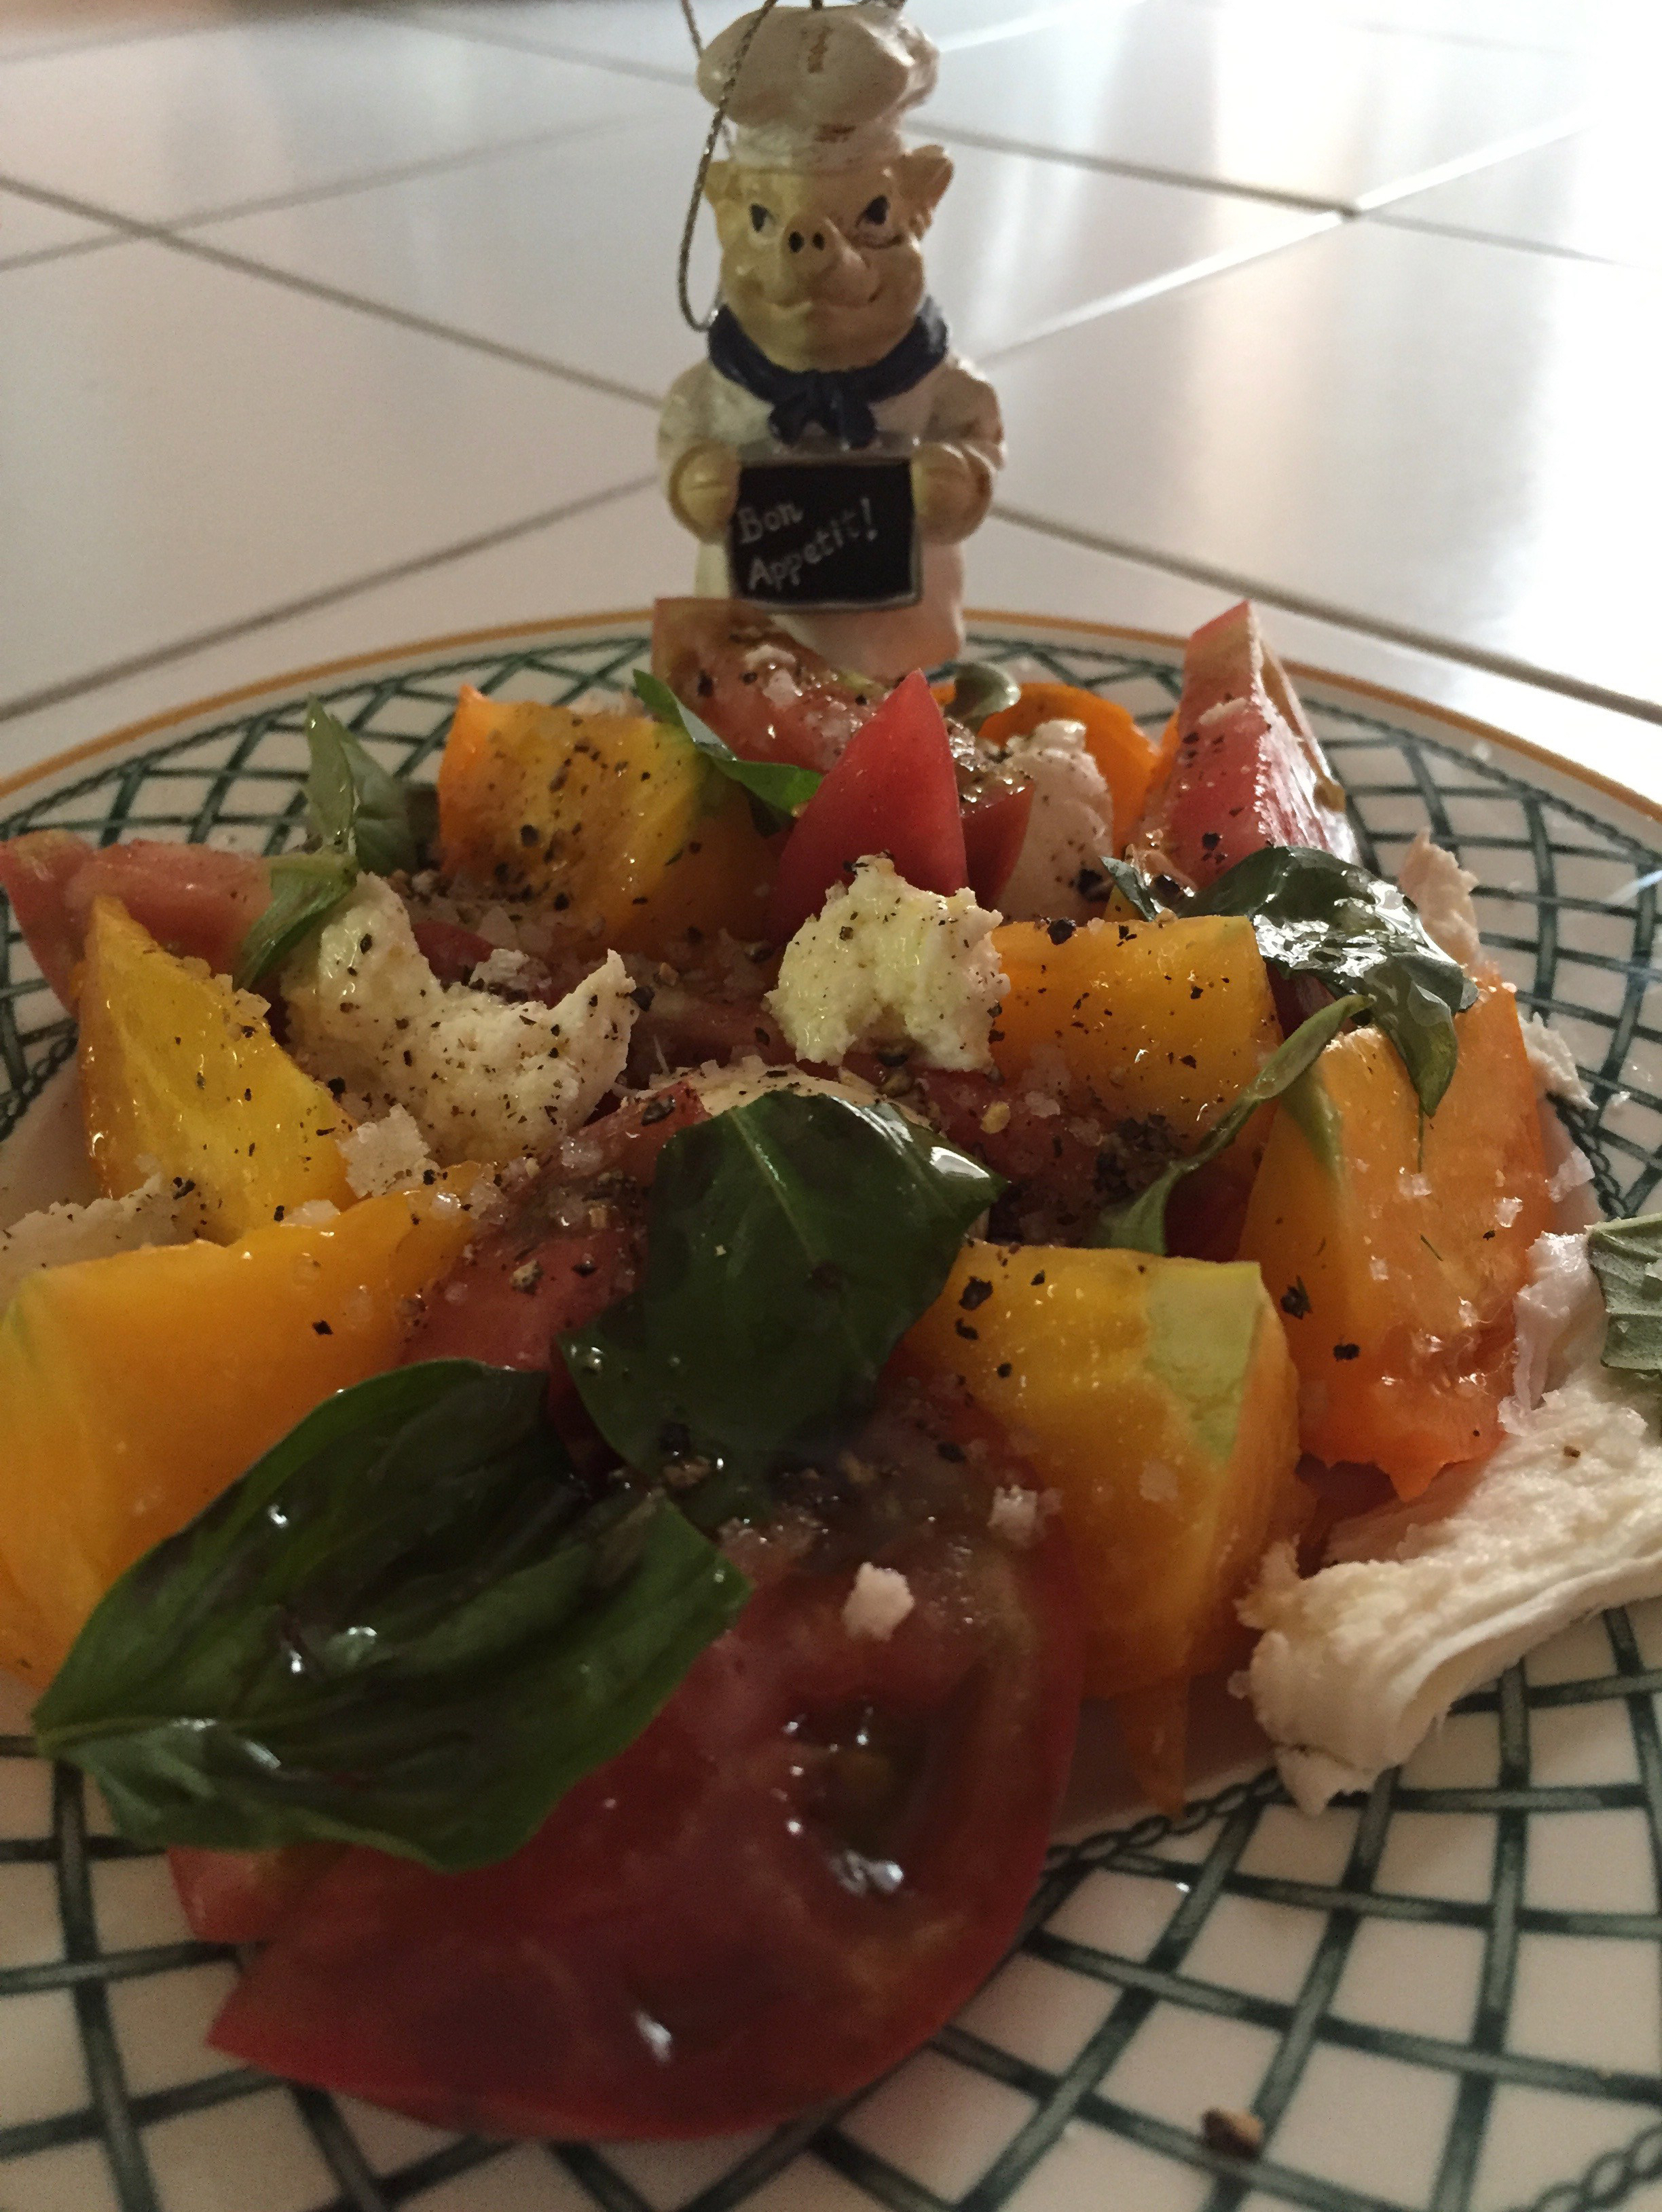
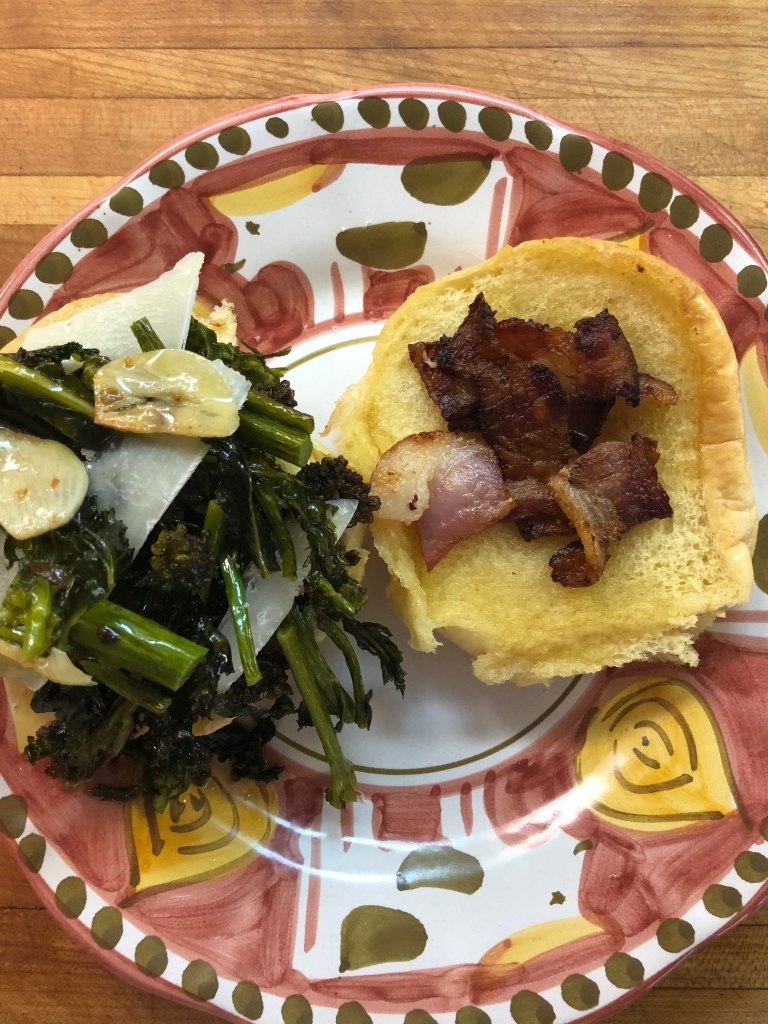
I paired it with a warm snap pea and purple potato salad and some grilled asparagus, you can come up with your own sides, even some grilled apple or strawberries would be nice as it is the season.

Don’t eat pork? Try it with Salmon. Bacon too much (said no one ever)? Wrap it with prosciutto. Leftovers? Sandwich with onions and roasted peppers.

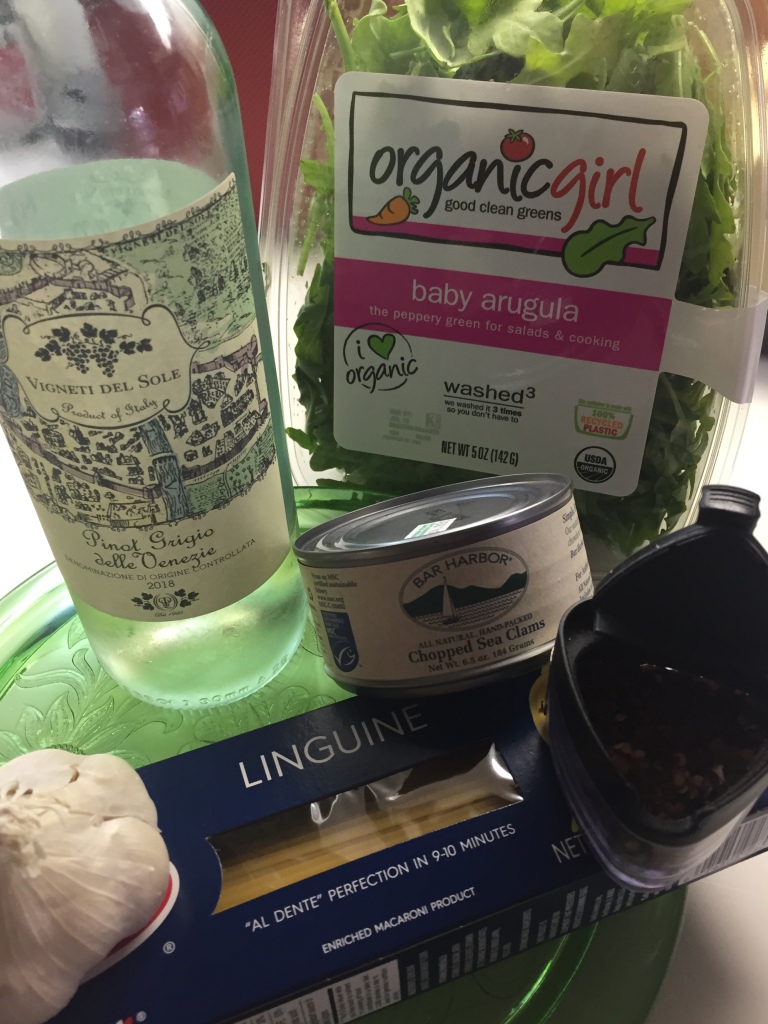
Comforting Sunday dinner. Don’t forget the wine.

Roasted Rapini

It is a beautiful Saturday here in quarantined Brooklyn. Totally Spring. And in a sign that some normalcy is trying to return, my dry cleaner was opened so I was able to ransom garments that I dropped off a month ago, like having a new wardrobe. Our Greenmarket is open on Saturdays as well, so I walked up to see if anything was available. Lo and behold, green things are starting to appear as nature does its thing with or without face masks.

One of the vendors had beautiful bunches of broccoli rabe and for the first time in 6 weeks I had a craving for something that wasn’t a potato chip or a bottle of wine. This has to be the easiest, freshest, and tastiest thing to make on the spur of the moment.

aren’t they beautiful?

So before you I have presented the ingredients. Rapini (or broccoli rabe), garlic, crushed red pepper. You will also need olive oil and flaky sea salt to taste. Everything is QB (quanta basta, or as much as you need or want). First blanch the rapini in boiling water for about 5 minutes. This will soften the stems. Refresh in ice water and drain. Heat oven to 400 degrees. While oven is heating, slice the garlic as thinly as you can. Cover a rimmed sheet pan with aluminum foil (read easy cleanup) and place the rapini on the pan alternating stems and tops for even cooking. If necessary, use two pans, you don’t want to crowd the pan. Add the olive oil, the shaved garlic, the crushed red pepper, salt to taste, and toss. Roast 10-15 minutes. That is all there is to it. If the stems are still tough, cut them from the tops, and place back into oven covered with some aluminum foil to finish. Add lemon juice if you want, or a splash of red wine vinegar. That’s the healthy part.

When I was growing up, my grandmother would make me a sandwich on our Sunday visits. Kaiser roll, some pork cracklings from the rendered fat back used to fry the meatballs for Sunday gravy, and some broccoli rabe. As I was roasting the rapini, I thought of that dish. I had some bacon in the fridge which I chopped down into small pieces and fried. Dipped a Martin’s potato roll into some of the bacon fat, added a few pieces of crispy bacon, a few slices of shaved pecorino cheese, some of the garlic slices from the rapini and toasted my grandmother. Not so healthy, but oh so delicious.

Other things you can do: chop it, add some of the cooking oil and bacon and toss with pasta; top with fried egg; serve at room temperature as a side or salad adding some lemon zest; chop and add to omelettes.

So grab your mask, go for a walk, enjoy the day, look for the rapini, and be grateful for another spring.

Everything Old Is New Again

Back before the great flood when I was in grammar school, Meatless Monday was actually Meatless Friday. While my classmates were all eating tuna salad sandwiches, my very (as it turns out) forward thinking mother would make us sardine (from a tin) sandwiches with slice a slice of onion on white toast. Needless to say, not everyone was a fan of sardines, plus they looked so weird and had their own, shall we say, fragrance. Didn’t matter to me, I loved them.

Fast forward to current times. One cannot swing a yoga mat today without seeing a story in food magazines, on TV or on line about the huge plusses of sustainable seafood. Guess what? “Tinned fish” are in and in a huge way and fall into that very category. According to an article I just read, those tins that carry products from Spain and Portugal are packed right out of the water and the contents are among the healthiest fast foods to consume. The packaging is irrestible, almost centerpiece worthy for a casual tapas dinner. Finally, you are doing your part to partake of items that won’t destroy the oceans. So here are some ideas to use those products in some cool and delicious (and easy to prepare) ways and still feel virtuous in their consumption.

Some of what I have in my pantry. Back a bit, I posted a recipe for Sardine butter, puree a tin of sardines with a stick of butter and spread on toast or crackers. The same can be done with mackerel. These two fish are not only delicious, but also good for you (hello Omega 3). The tinned octopus and or squid can just be served on a pretty plate with a toothpick inserted for easy eating. Squeeze a bit of lemon juice on top because, why not? My new favorite is that cod liver stuff. Nobu served monkfish liver and the world craved it. This is much cheaper and easier to find and work with. It is almost like a pate. I serve it with a simple salsa verde (parsley leaf, capers, lemon zest, chopped olives if you like, a bit of olive oil and salt and pepper to taste). Spread on a plain cracker. A quick, easy, and fancy bite.

If you want something more substantial, open a tin of your choosing, chop the contents and toss all with pasta. Instant sauce. Want to dress up a salad? Same thing, and the dressing is already made for you, just a squeeze of lemon juice or a splash of vinegar to cut some of the richness.

So where do you find this magical stuff? Pretty much at any supermarket. Check the international aisles not for the products from Spain or Portugal because those countries provide the best of these items. WWW.tienda.com carries many more specialty items from Spain which might not be available at the supermarket. Uber Chef Jose Andres has a line of products as well. Check the web, and you will come up with more purveyors. Search specialty markets in Europe if you happen to be there, you will find these goodies in their aisles as well. I was fortunate enough to have friends bring back a few items for me just recently, God bless them.

At the end of the day, keep a few tins around, and the next time Meatless Monday (or any day) rolls around and you are hungry, break out a two slices of bread, toast them, add a slice of onion and thank my mom. Like I said at the outset, everything old is new again.

LAZY LINGUINE VONGOLE

Unbeknownst to me, my fish market closed for good and I promised Linguine Vongole for dinner. So no vongole to be had. What to do? Buy the best canned clams you can find and make the recipe without the shells. Here is what you need for two people: 1/2 pound linguine; 2 cloves garlic, thinly sliced; pinch red pepper; 1-2 cans best chopped clams you can find-drain the juices and reserve; 1-2 tablespoons white wine; handful of arugula; 2 tablespoons butter to finish the sauce.

Set a large pot of water on high heat and when it comes to a boil salt to bring taste of the water to the taste of seawater. Meanwhile, thinly slice the garlic, drain the clams (reserving the juices) and rinse them thoroughly to remove any tinny taste. 2 minutes before the pasta is done, in a separate pan, heat a tablespoon or two of olive oil over medium heat and add the sliced garlic. Add a bit of the reserved clam juices (or water if not using the clams, more on that later) to the pan and allow the garlic to steep a bit. This process slows the cooking of the garlic and ensures that it will not burn while you are preparing the rest of the sauce. When the water comes to a boil, add the linguine and cook it to within 2 minutes of the recommended cooking time. Back to the pan for the sauce, add a pinch of red pepper flakes (or to your taste for heat) and stir. When the pasta is done, drain it reserving a cup of the pasta water for use if needed. Add the white wine to the sauce pan and and cook for a few seconds to remove the alcohol taste. Add the clams and their reserved juices to the sauce pan and warm through, no more than a minute, you don’t want to overcook the clams. Toss in the pasta and give everything a good stir. If the sauce looks dry, add a bit of the pasta water. Finish cooking everything together, about another minute or so and taste for seasoning. Add a handful of arugula and the butter and stir, emulsifying the sauce and melting the arugula.

If you don’t eat clams, you can make the sauce the same way just omit the clams. You will need to use more of the pasta water to create the sauce but it will taste just as good. Instead of Linguine Vongole, you will have made Linguine Aglio. If you add a splash of oil to the finished Linguine Aglio, you will have Linguine Aglio ed Olio.

Pour into a warm bowl. Serve with some good bread to soak up the juices. That’s it. It took longer to type this up than it will take to cook! 10 minutes start to finish. Not even enough time to finish a glass of wine! And you won’t miss the clam shells.

Yotem Ottolenghi, the master of many ingredients, has published a new book called SIMPLE. It is a beautiful text and in fact does have many simple and ingredient pared recipes. Among them, I found this, and with the preponderance of beautiful mini cauliflowers of many colors still in the green markets, I was inspired to make it. It is indeed simple: ingredients-the aforementioned cauliflower, a Tablespoon each of butter and olive oil, and flaky sea salt, Maldon if you have it. He adds a green dipping sauce, but I found the sweetness and crunchiness of the cauliflower more than enough (I did serve some Greek yogurt alongside because I had a purple cauliflower and it looked so beautiful). I made this with a mini sized head, but the recipe works for any size. Here are the directions. Preheat oven to 375 degrees. Rinse the cauliflower, trim the stem to flatten it, but do not remove the leaves (they get crunchy and delicious in the roasting process) and place in salted boiling water head down for 5-6 minutes. Don’t worry if the head is not completely immersed. After 6 minutes, remove and place head down in a colander to drain for 10 minutes. Place drained and cooled head on a sheet pan or an oven proof dish head side up (you can use the dish for serving) and top with butter, olive oil, and a sprinkle of the the sea salt. Roast in oven for 1 hour to 1 1/2 hours depending on the size of the head. Remove from the oven and let cool. Sprinkle with a bit more salt and pepper. Serve as is either on the sheet pan or on the dish. Just break off the florets and eat. It is crunchy on the top, and creamy in the middle, the leaves get potato chip like, just a great vegetarian lunch or dinner side. And so much more inventive than the tiresome cauliflower rice.

This is a great recipe for a spread or something more exotic (that comes later). When I a make my weekly visits to Chinatown, I always end up buying more mushrooms than I need. So there are always packages clogging up the veggie drawer in the fridge. Here is a really tasty and easy way to use them. The finished product can either be used immediately or can be frozen to reuse at a future date. MUSHROOM DUXELLES. What you need for 1 cup of duxelles are 8 ounces of mushrooms of any type or a combination thereof. An aside here–mushrooms generally come in 5 ounce packages so a couple of packages will suffice with a bit left over. Just use the whole package. You won’t go to Duxelles Jail, I promise. Also you will need 2-3 Tablespoons butter, a garlic clove, minced, 2 large shallots, minced (about 3 Tablespoons) and a Tablespoon of chopped parsley. Shallots are the traditional ingredient, but if you don’t have shallots, a small white onion or a few chopped scallions will work to the same quantity. See above comment re Duxelles jail. Now on to how to make. First, chop the mushrooms. I generally do this in the food processor with a few pulses, much easier. You need a fine chop, don’t go overboard and make mush, see photo below. Remove and set aside. Next, also in the food processor, chop the garlic and shallots. You want as fine a mince as you can get, again , see below. At medium heat, melt the butter in a skillet large enough to hold your ingredients, add the garlic and shallots and sweat, don’t brown. The best way to do this is to add some water to the pan with the butter and the garlic/shallot mixture. The water will boil away and while it does that, it will sweat the vegetables. Listen for a sizzle, the louder the sizzle, the closer you are to the right stage. Now add the mushrooms, another pinch of salt and pepper and cook down for about 10 minutes. The mushrooms have alot of water, you need to cook all that out. You want a dried finished product. Stir occasionally and scrape the bottom of pan to avoid burning the mushrooms. After 10 minutes or when mushrooms are dried (see below), add the parsley. Stir through and take off heat. Set aside to cool. At this point, the duxelles can be frozen if not used right away. I generally store in 2 Tablespoon servings in a freezer bag. Here are some great ways to eat. Idea 1: Mushroom crostini are a very popular snack to go with aperitivi in Tuscan cuisine. Just toast some baguette slices and top with duxelles. Idea 2: Seve to your vegetarian friends as mushroom fried rice. Why not, cauliflower fried rice is all the rage, and this is soooo much better! Idea 3: use as a filling for Sunday brunch omelets. Idea 4: thicken gravy to use with roast chicken or for whatever you may be making gravy (that Thanksgiving turkey comes to mind). And now for the mother of all uses. At the beginning of this post I promised you something exotic. As a topping for beef. But not just any beef, easy Beef Wellington. Remember those sheets of puff pastry we used to make straws the other day? Here is another use for them. Traditional Beef Wellington utilizes a large and costly cut of meat. Rather than buying the “chateaubriand”, buy individual filet mignons, one per serving. Cook in your traditional manner until the steaks are 1/2 done. Allow steaks to cool completely. You can do this hours even a day before serving. You need the beef cool because it will help the puff pastry puff and you don’t want to over cook the beef when it goes into the oven a second time. When ready to serve, preheat oven to 350. Melt some butter to top the Wellingtons. Lightly roll out a one of your squares, one for each serving. Place a tablespoon of duxelles on top of each steak and lay a square of pastry on top of all. You can fuss with wrapping if you like, but I promised easy. Place each Wellington on a parchment or silpat lined baking sheet and top with melted butter. If you are artsy, you can slice a design on top of the pastry but DO NOT CUT ALL THE WAY THROUGH! Also, if you have cooked your steak for different degrees of doneness for your guests, you can mark the Wellingtons with either their initials or R for rare, M for medium, or, God forgive me, W for well. Cook for about 20-25 minutes or until pastry is golden and cooked through. Pour yourself a glass of Gigondas, Chateauneuf-de-Pape, Cabernet, whatever you like. You’ve earned it. Your dinner will be gorgeous, easy to prepare, and you will look like a rock star. Bon Appetit!

This is for the carnivores out there, and the idea comes from the grillmaster Steve Raichlen. Steak with board sauce. What you need is your favorite cut of beef, a rimmed wooden cutting board, and for the board sauce, a handful of chopped sage leaves, a handful of chopped rosemary, a handful of fresh oregano, some chopped chives, two or three chopped scallions, a chopped Serrano and a chopped jalenpeno pepper for some heat (omit if you don’t want heat), arugula leaves (optional, or add another green of your choice), and some olive oil. Grill the steak in your own way and to your desired doneness and while it rests after cooking (10 minutes or so) make the sauce on the cutting board. Combine all the herbs and the salad greens if using and add the olive oil. Mix and taste for seasoning. Remember if you have salted your beef not to over salt the sauce. Slice the steak and mix with the sauce on the board and serve. It looks beautiful and it tastes great. Company coming? This meal takes the amount of time you need to cook your steak and rest it. Dinner can be on the table in under 30 minutes. The bonus? Takes seconds to clean up. Not necessarily a nibble, but what a meal. And as shown in the photo, don’t expect any leftovers.

Tis Tomato Time. What is the first thing you think of? Yep, Caprese Salad. But just simple Caprese Salad. No balsamic, no onions, no capers, no bread on the plate. Great in season tomatoes, Heirlooms, different colors and shapes. Best mozzarella. Torn basil. Olive oil. Flaky sea salt (Maldon if you can find it) and pepper to taste. Period. Cut tomatoes into rounds, quarters, slices–vary the shape, they look beautiful on the plate. Then take the mozzarella and tear it into pieces, don’t cut it. Next, olive oil to taste. Scatter torn basil pieces over top. Finally, add the sea salt and pepper to taste. Too hot to cook? Make the salad bigger and serve for dinner, maybe with some fresh bread on the side and a plate of prosciutto and cheese. In any case, don’t forget the wine.

IMG_0857

I am sure that everyone reading this has a favorite chicken wing recipe. Add Frank’s Hot Sauce. Add Blue Cheese. Add any number of Asian blends. This recipe is my hands down favorite and is adapted from the way they are offered at Ocean’s Grille in Fort Lauderdale owned and operated by my friend Joe Israel. I serve these for spur of the moment weeknight dinner parties accompanied by a refreshing salad and chilled white wine or Beaujolais or even something fizzy and my guests have devoured them. Ingredients? Simple. I plan on 10 pieces per person so multiply according to the size of your group–wings, juice of 3 limes, salt, pepper and arugula or something green for serving (in the photo below I used celery leaves). That’s it. Preheat oven to 400F (~~200C). While the oven is preheating, separate wings if not already done and line a rimmed baking sheet with tin foil and parchment paper. The parchment prevents the wings from sticking as they cook, the tin foil aids in easy cleanup because you don’t want to be scrubbing a pan when you could be eating and drinking. Roast wings about 15-20 minutes a side until really crispy. At Ocean’s Grille, they are baked and then deep fried, I skip that step. While wings are roasting, juice your limes and add salt and pepper to taste to the juice. When wings are done to your satisfaction, toss them with the lime juice mixture. Find a pretty platter, scatter the arugula or whatever greens you have chosen and plop the wings on top with the lime dressing. That’s all there is. If you want to stray off the path a bit, you can change up the juice for either lemon or even orange, it is a matter of preference or what you are in the mood for. And at the end of the day, if you still miss your Frank’s or Asian spices, have at it. It’s all good.

IMG_0560