Few projects bring out my procrastination more than refinishing a door and wouldn’t it be nice to refinish a door without taking it off the hinges? Without a doubt the best way to get the job done is to remove the hinge pins, lift the door off, and set the door flat on a couple of sawhorses. It’s so much easier working on a horizontal surface than a vertical surface. But if your door is big and you’re working alone, the door removal process can be daunting. Furthermore, if you’re sanding/stripping off an old finish and then applying multiple coats of the new finish, the project could last for several days. That means you’re either putting the door back up every night or you’re leaving your house wide open while you and your family sleep. No bueno!
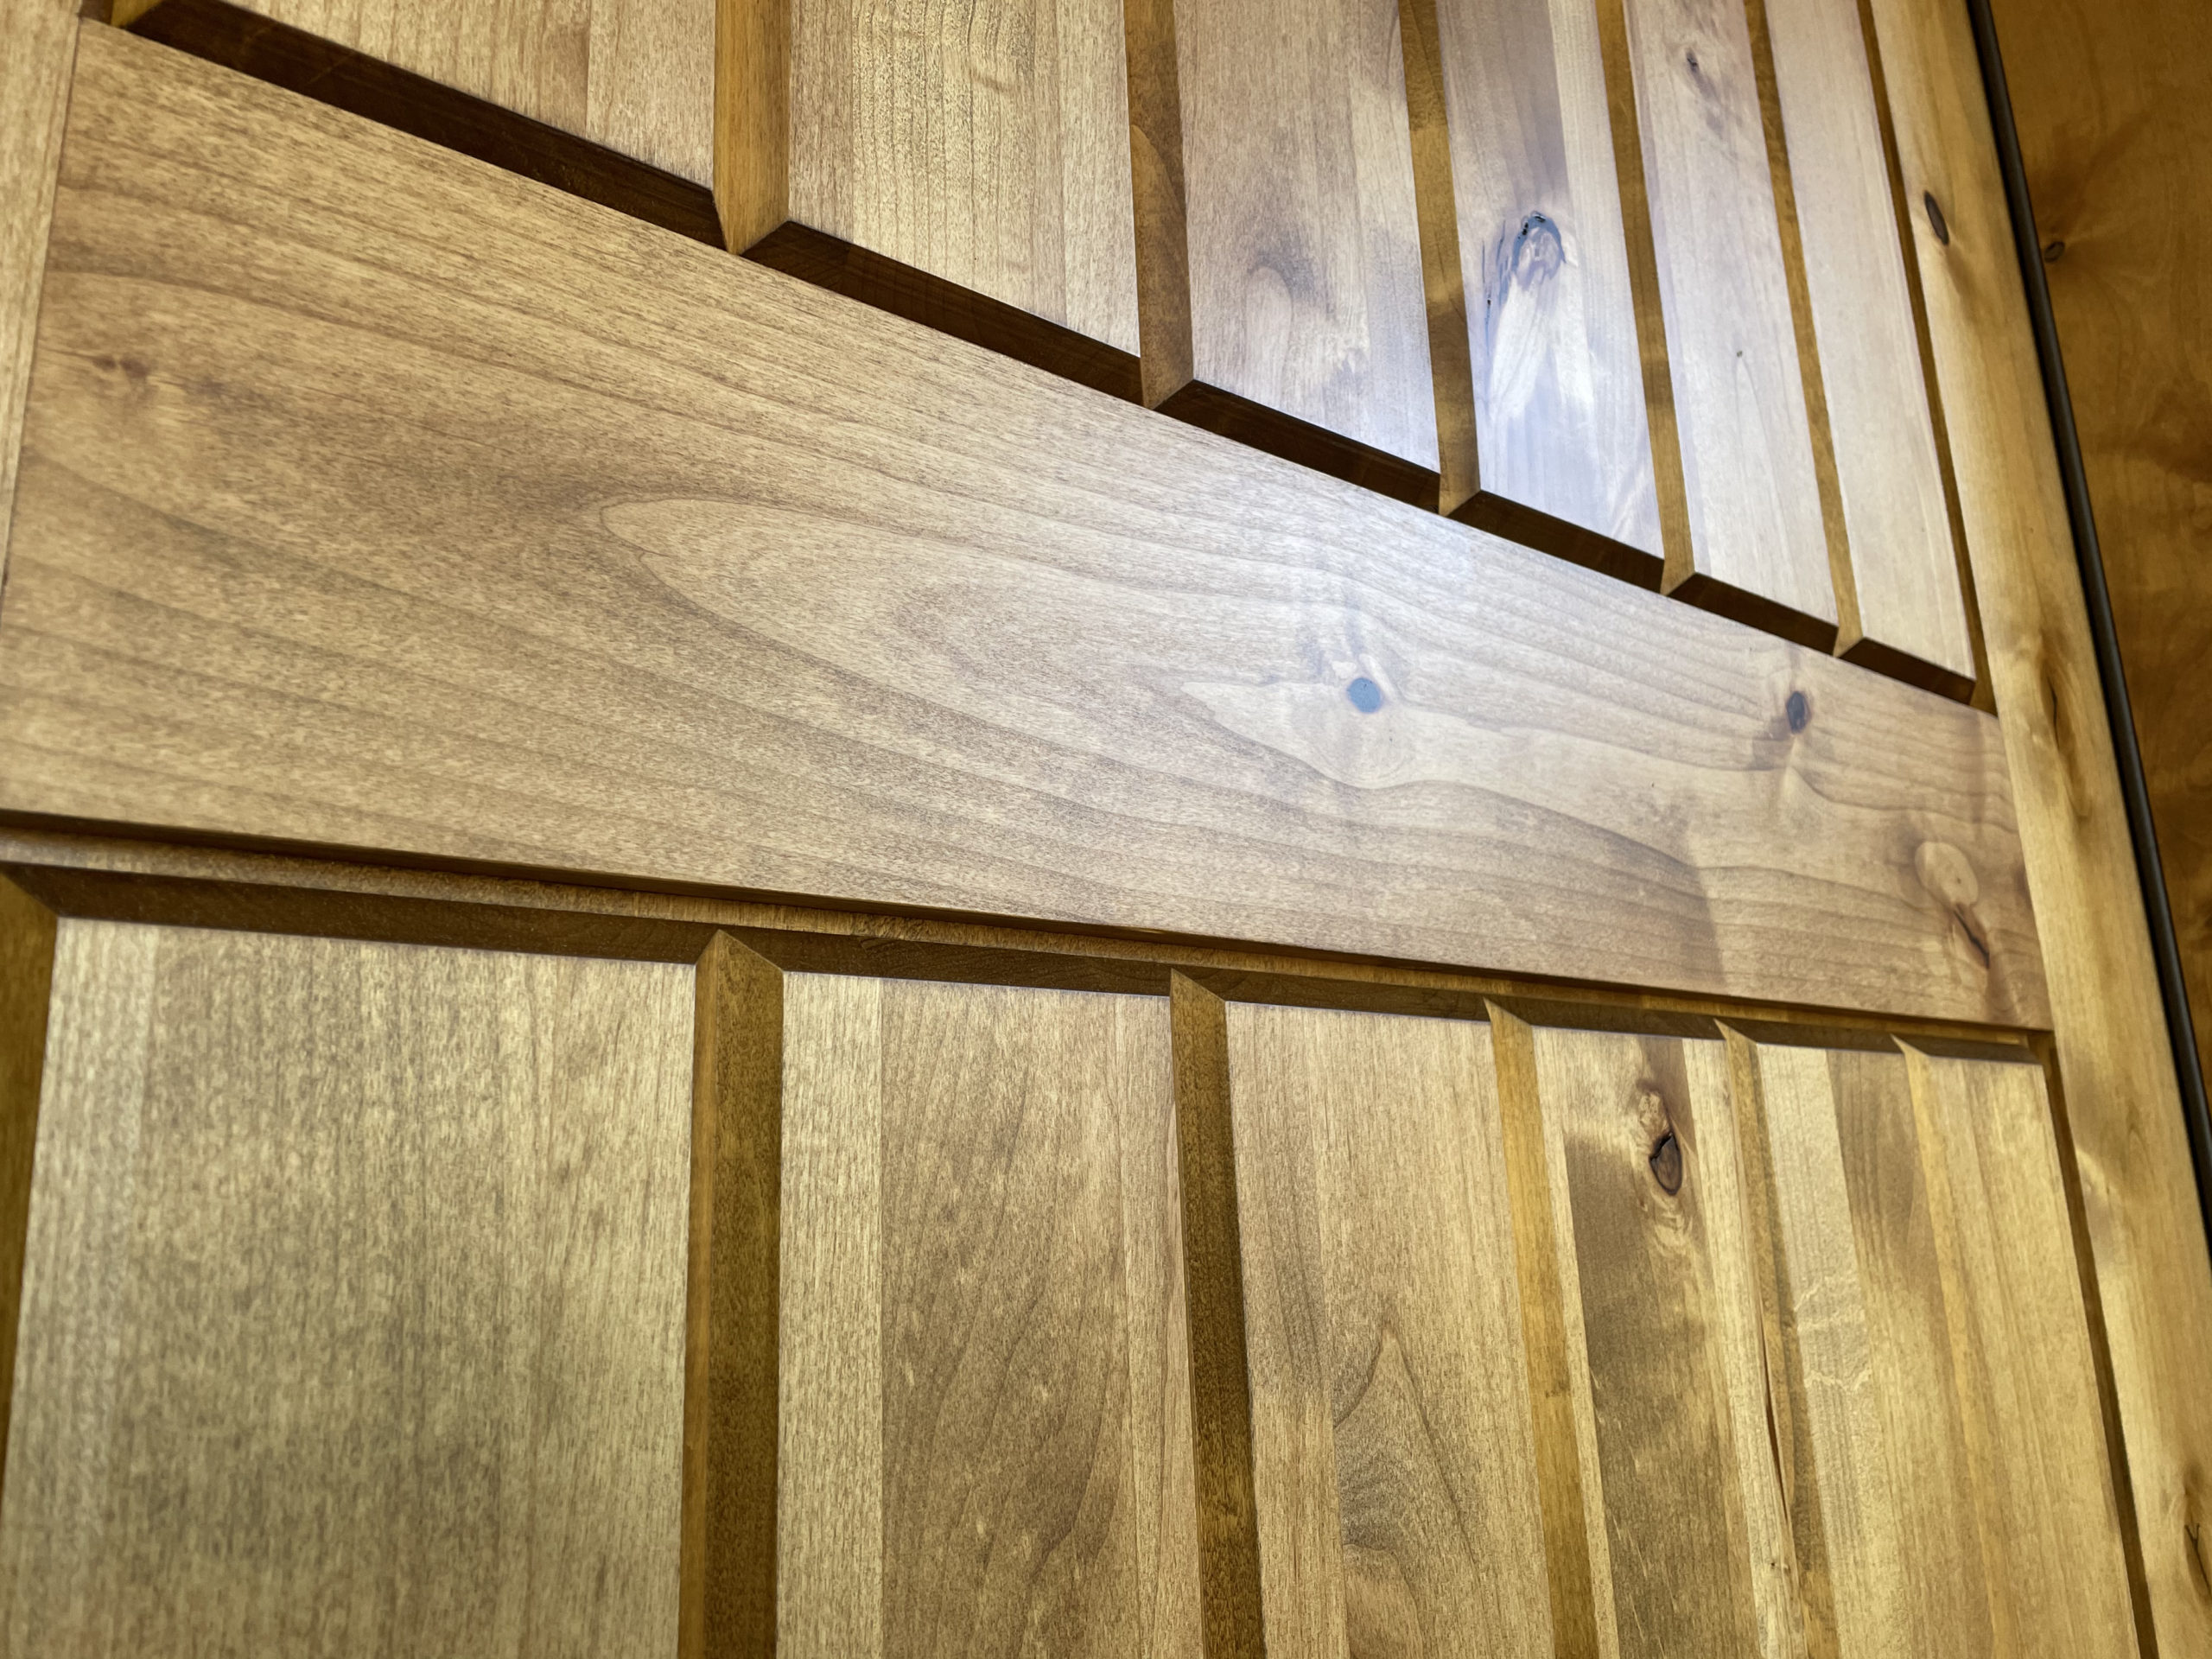
Fortunately, it is possible to refinish a door without taking it off the hinges. In my case, I was fortunate in that the door wasn’t in terrible shape to begin with. So all of the recessed details only needed a light sanding and cleaning instead of a full finish removal. The main flat surface of the door, however, was completely sanded down to bare wood. And since my plan was to simply replicate the previous stain color, I wasn’t concerned about the recessed sections looking different than the flat areas. After sanding the door is treated for blotch (alder likes to get all blotchy and splotchy when stained) and then stained using Watco Dark Walnut Danish Oil. I then top-coated with a marine varnish: Epifanes Matte.
Here’s the step by steps for the entire process I used to refinish my front door without taking it off the hinges.
- Develop a strategy. Although you won’t be taking the door down, you will need to keep your door open for most of the day. Have a solid plan in place to keep kids and animals safe during this time. Baby gates are a great way to block the door while keeping the air flowing through the doorway. Also, plan out how many days the process will take. Make sure you research the dry time for each coat of finish.
- Remove anything from the door that you don’t want to get scratched, dusty or coated with finish. That includes the locks, strike plates, adornments, and the door sweep. By the way, the door sweep might be a sticking point. In some situations, you can’t remove the door sweep without taking the door down. If that’s the case, you may have no choice but to take the door down.
- Remove the old finish. The amount of time, effort and materials you need to put into this part of the process really depends on the existing finish. Thick stubborn finishes may require a chemical stripped or a heat gun and a scraper. Older worn finishes can often be removed with sanding alone, as is the case with my door. I start with 120 grit, progress to 180 grit, then finish with 220 grit.
- Prevent Blotch. If you plan to stain and your door is made of a blotch prone wood (alder, poplar, pine, maple, cherry, birch, just to name a few), you’ll want to apply some sort of pre-stain conditioner before staining. The homemade formula I used was 2 TBSP of Titebond Original glue, 2 TBSP of Water-based finish, brought up to 1 quart with water. The material is simply painted onto the raw wood. Once dry, I sand very lightly with 320 grit to knock down any roughness on the surface.
- Apply the Stain. If you plan to color the wood, now is the time to do it. Apply it as per the manufacturer’s instructions and work quickly to avoid streaks and overlaps. If you’re using something oil-based, be sure to give the stain PLENTY of time to cure. I don’t mean hours, I’m talking about days. If the oil in the stain isn’t cured enough and you apply finish on top of it, you may end up with a sticky finish that never totally cures. So give it 2-3 days or more if you can afford the time.
- Apply the Topcoat. An exterior door needs good protection. I have a video on Outdoor Finishes that you might want to review before selecting your final finish. I used a marine varnish called Epifanes. The finish should last a very long time on my shaded porch.
- Re-install the Hardware. You likely had to reinstall the hardware several times during this process but now you can do it for the final time. And if you were considering upgrading your handle or deadbolt, now’s a good time to do that. It can really help give a door a nice fresh look.