
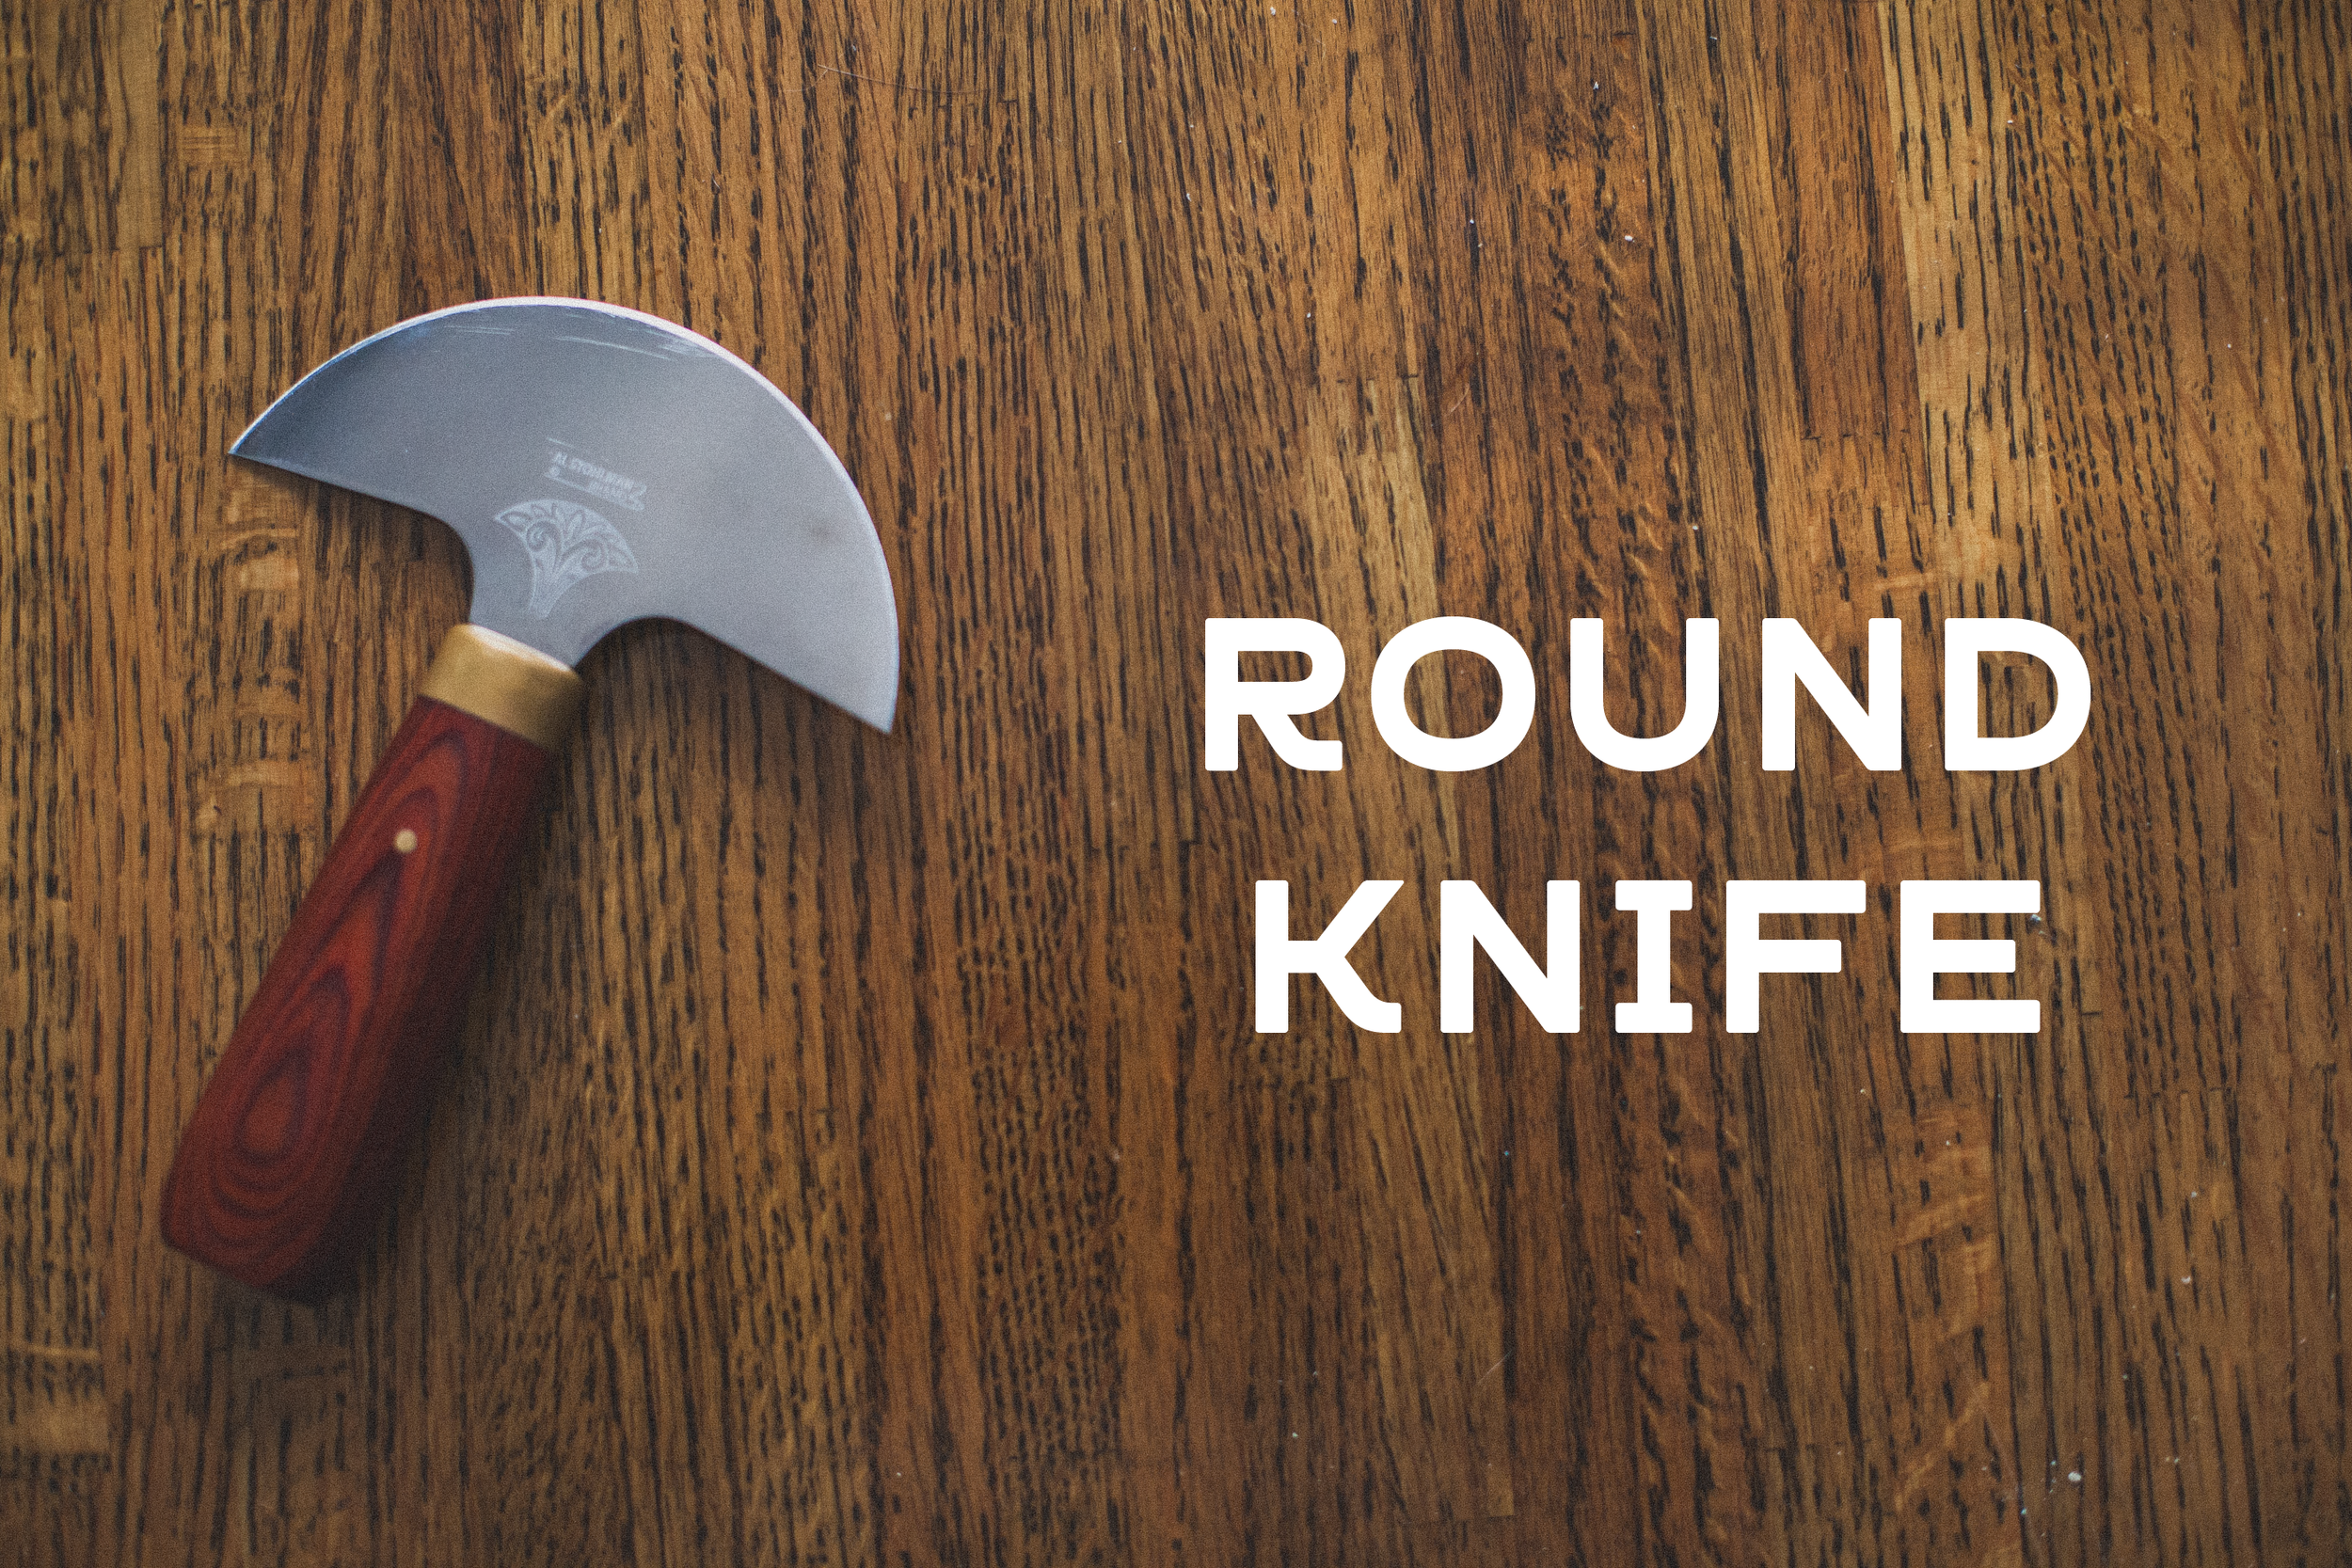

For Cutting & Skiving
The round knife is the iconic leatherworking tool because of it's versatility when cutting and it's ability to skive. This is a great tool to have, but it takes some time to develop a skill for it and it requires good amount of sharpening.
For this reason, and the cost, this knife may be something you want to pick up after you are sure you are going to stick with leather working. Until then, use a rotary cutter.
Est. Price: $80+
FOR CUTTING
While it lacks in versatility, it is easy to learn, it's cheap, and doesn't require any skill in sharpening. The blades can be sharpened by a rotary sharpener that is easy to use. They're also cheap and replaceable if you damage one.
Note that it does not work well for cutting 90 degree corners or rounded corners. It is best to have an X-Acto knife on hand for those situations.
Est. Price: $10
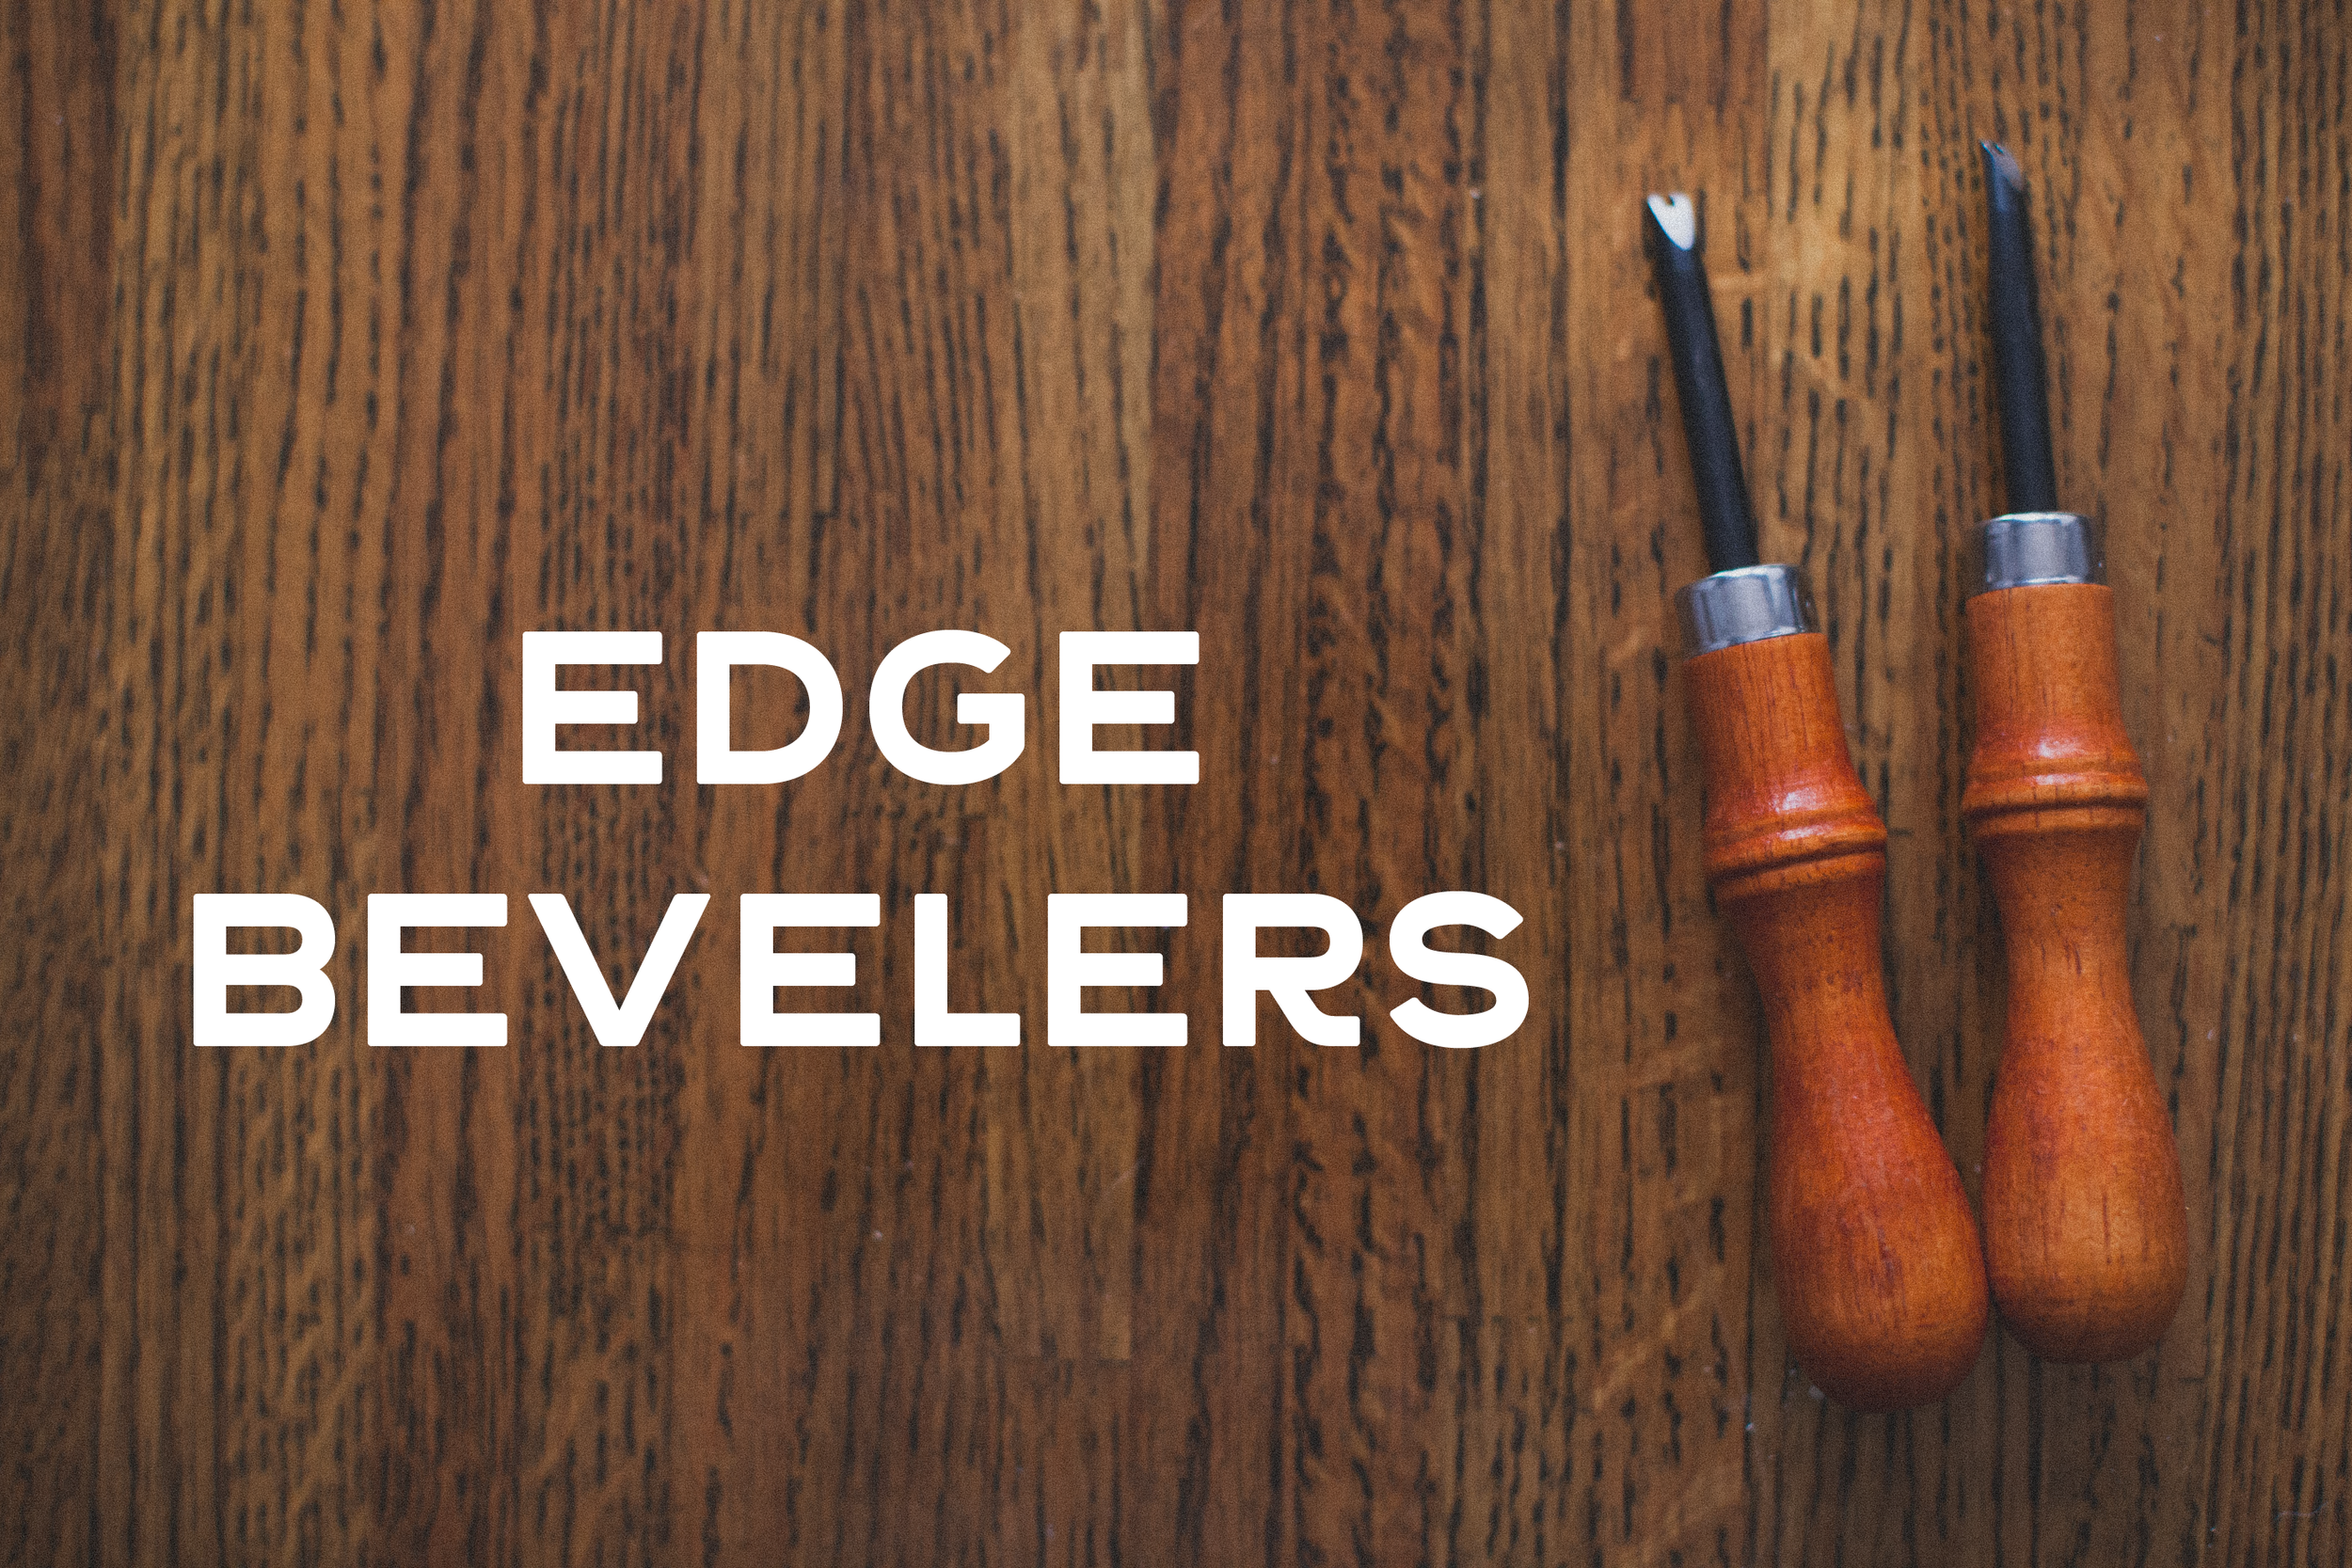
For rounding out edges
Edge bevelers have a sharpened notch that is used for removing part of your edges, helping to round them out. Generally, they are only used on thicker leathers (6oz+). Having edges fold over is a common problem when edge bevelers are not used.
They come in a range of different sizes to create cuts at different angles. However, there's no need to get more than one size when starting out.
Est. Price: $15

For PUNCHING Stitching Holes
Not to be confused with pricking irons, diamond chisels are used to punch stitching holes all the way through the leather. This is typically done after you've used your groover. You may also need to use an awl as you're stitching to open up the holes.
They come in a range of hole sizes and width, and are generally cheaper because they are meant to be replaced every so often.
Est. Price for a Set: $55

For digging a STITCHING CHANNEL
By cutting a small channel out of the leather, the stitching no longer sticks up from the leather and therefore receives less friction in daily use. The line it creates is also serves as a guide when punching holes with a chisel.
If using the groover on the right, make sure to have a small screw driver to adjust the distance of the groove. The groover on the left has interchangeable parts and also serves as a creaser - which creates decorative lines. It can be loosened by hand.
Est. Price: $25

For widening and Creating stitching holes
The stitching awl has a blade that gets wider as it approaches the base. The further the blade is pushed into the leather the larger the hole gets - making it easy to adjust the size of a hole that was too small for the stitching. If using a pricking iron, which only marks the leather, an awl is used while stitching to create each hole.
Some awls don't come full assembled. If you're just starting off make sure to get one that's completely put together.
Est. Price: $20

For slicking edges
Using friction, the edge burnisher melts fibers on the edge of the leather together, creating a slick surface that won't fray. Edges need to be slightly wetted just prior to being burnished. The elongated side of the edge burnisher can be used with gum tragacanth to mat down the fibers on the underside of leather.
This process is all done by hand, which can get a bit tiring. A post on how to make an automatic burnisher for your Dremel will be on the blog soon.
Est. Price: $15

For Stitching
A certain kind of knot is used to attach the string to the needle prior to stitching. For this knot to hold, make sure that the eye of the needle is not too big nor too small for the size of the thread.
Leather stitching needles are usually dull. This is because holes are made with an awl or diamond chisels.
Est. Price for a Set: $10
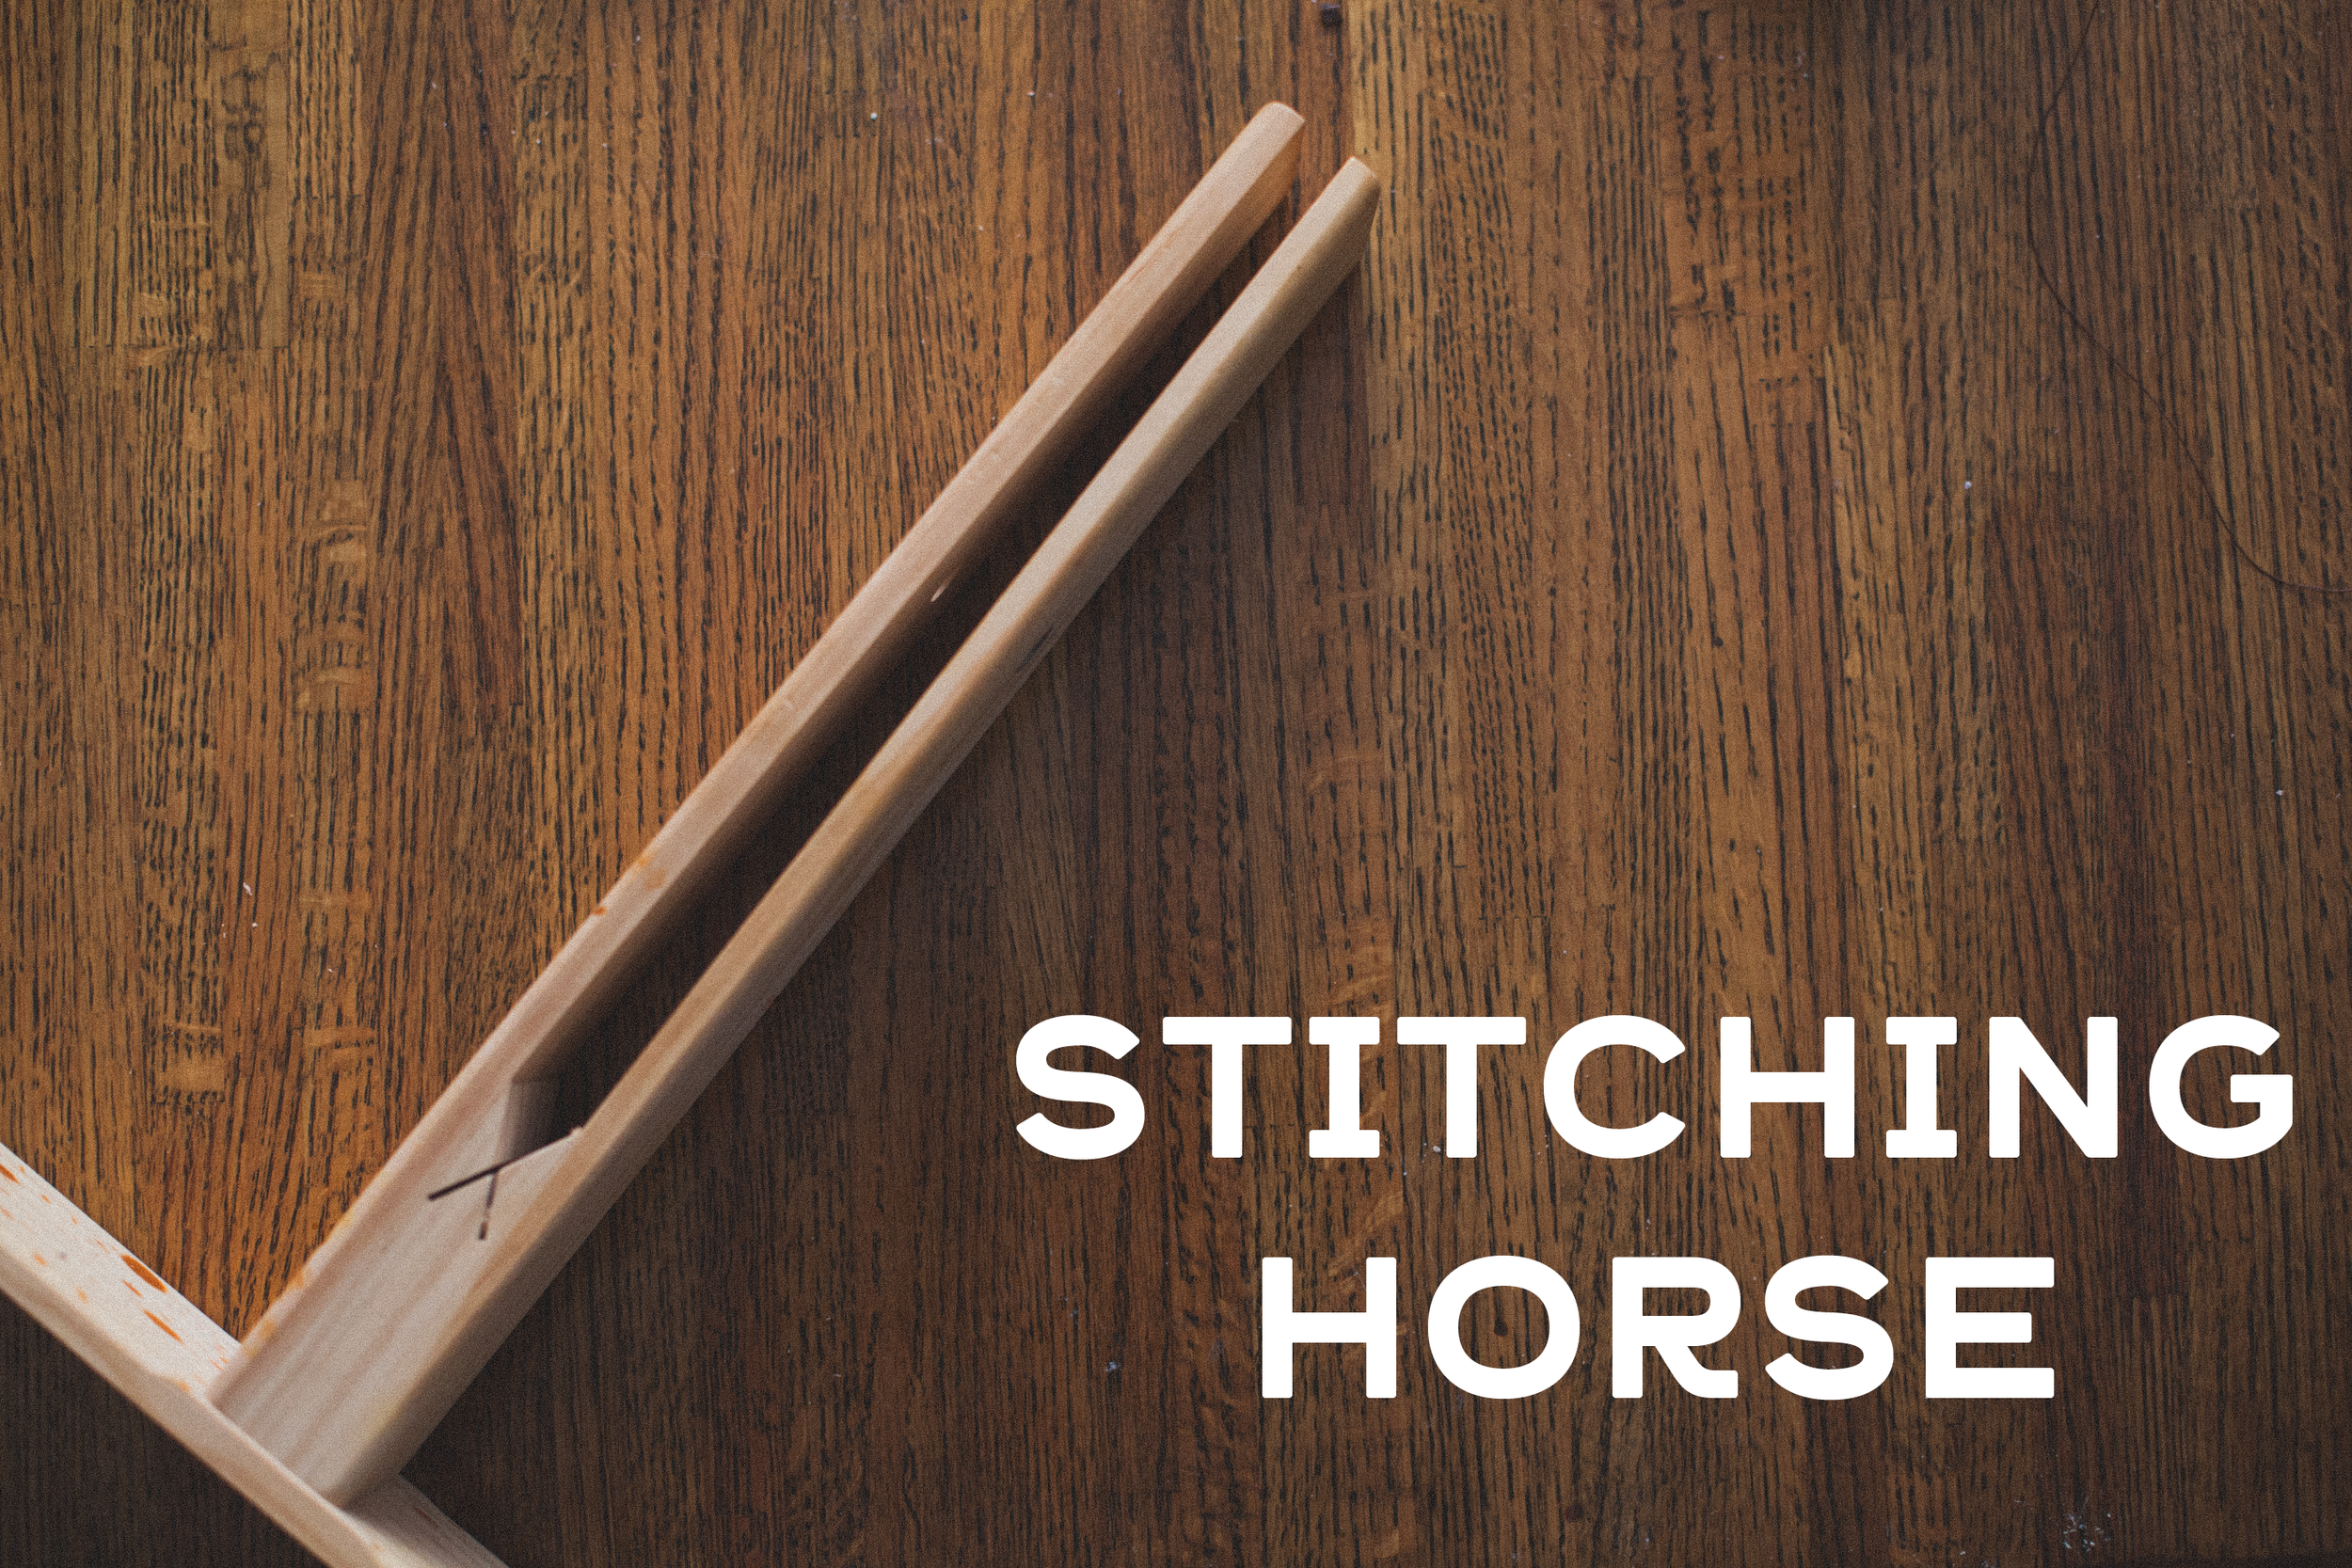
For Holding Leather
While not completely necessary to stitch, it goes a long way in making it much easier. Leather is placed between the two wooden planks and then clamped into place. Once clamped, the horse holds the leather at a good height to stitch while you're sitting down.
If clamped too tightly the stitching horse can leave an impression on your leather. This can be remedied by stapling a small amount of scrap leather over the edges at the top of each plank.
Est. Price: $25

For Hammering Punches & Setters
The hammer is used in leatherwork is when using punches, rivet setters, and tooling.
Using a rubber hammer is suggested to help keep your punches and setters in good shape.
A rubber hammer can be used to tool, however there is a special kind of mallet that is made specifically for tooling.
Est. Price: $10
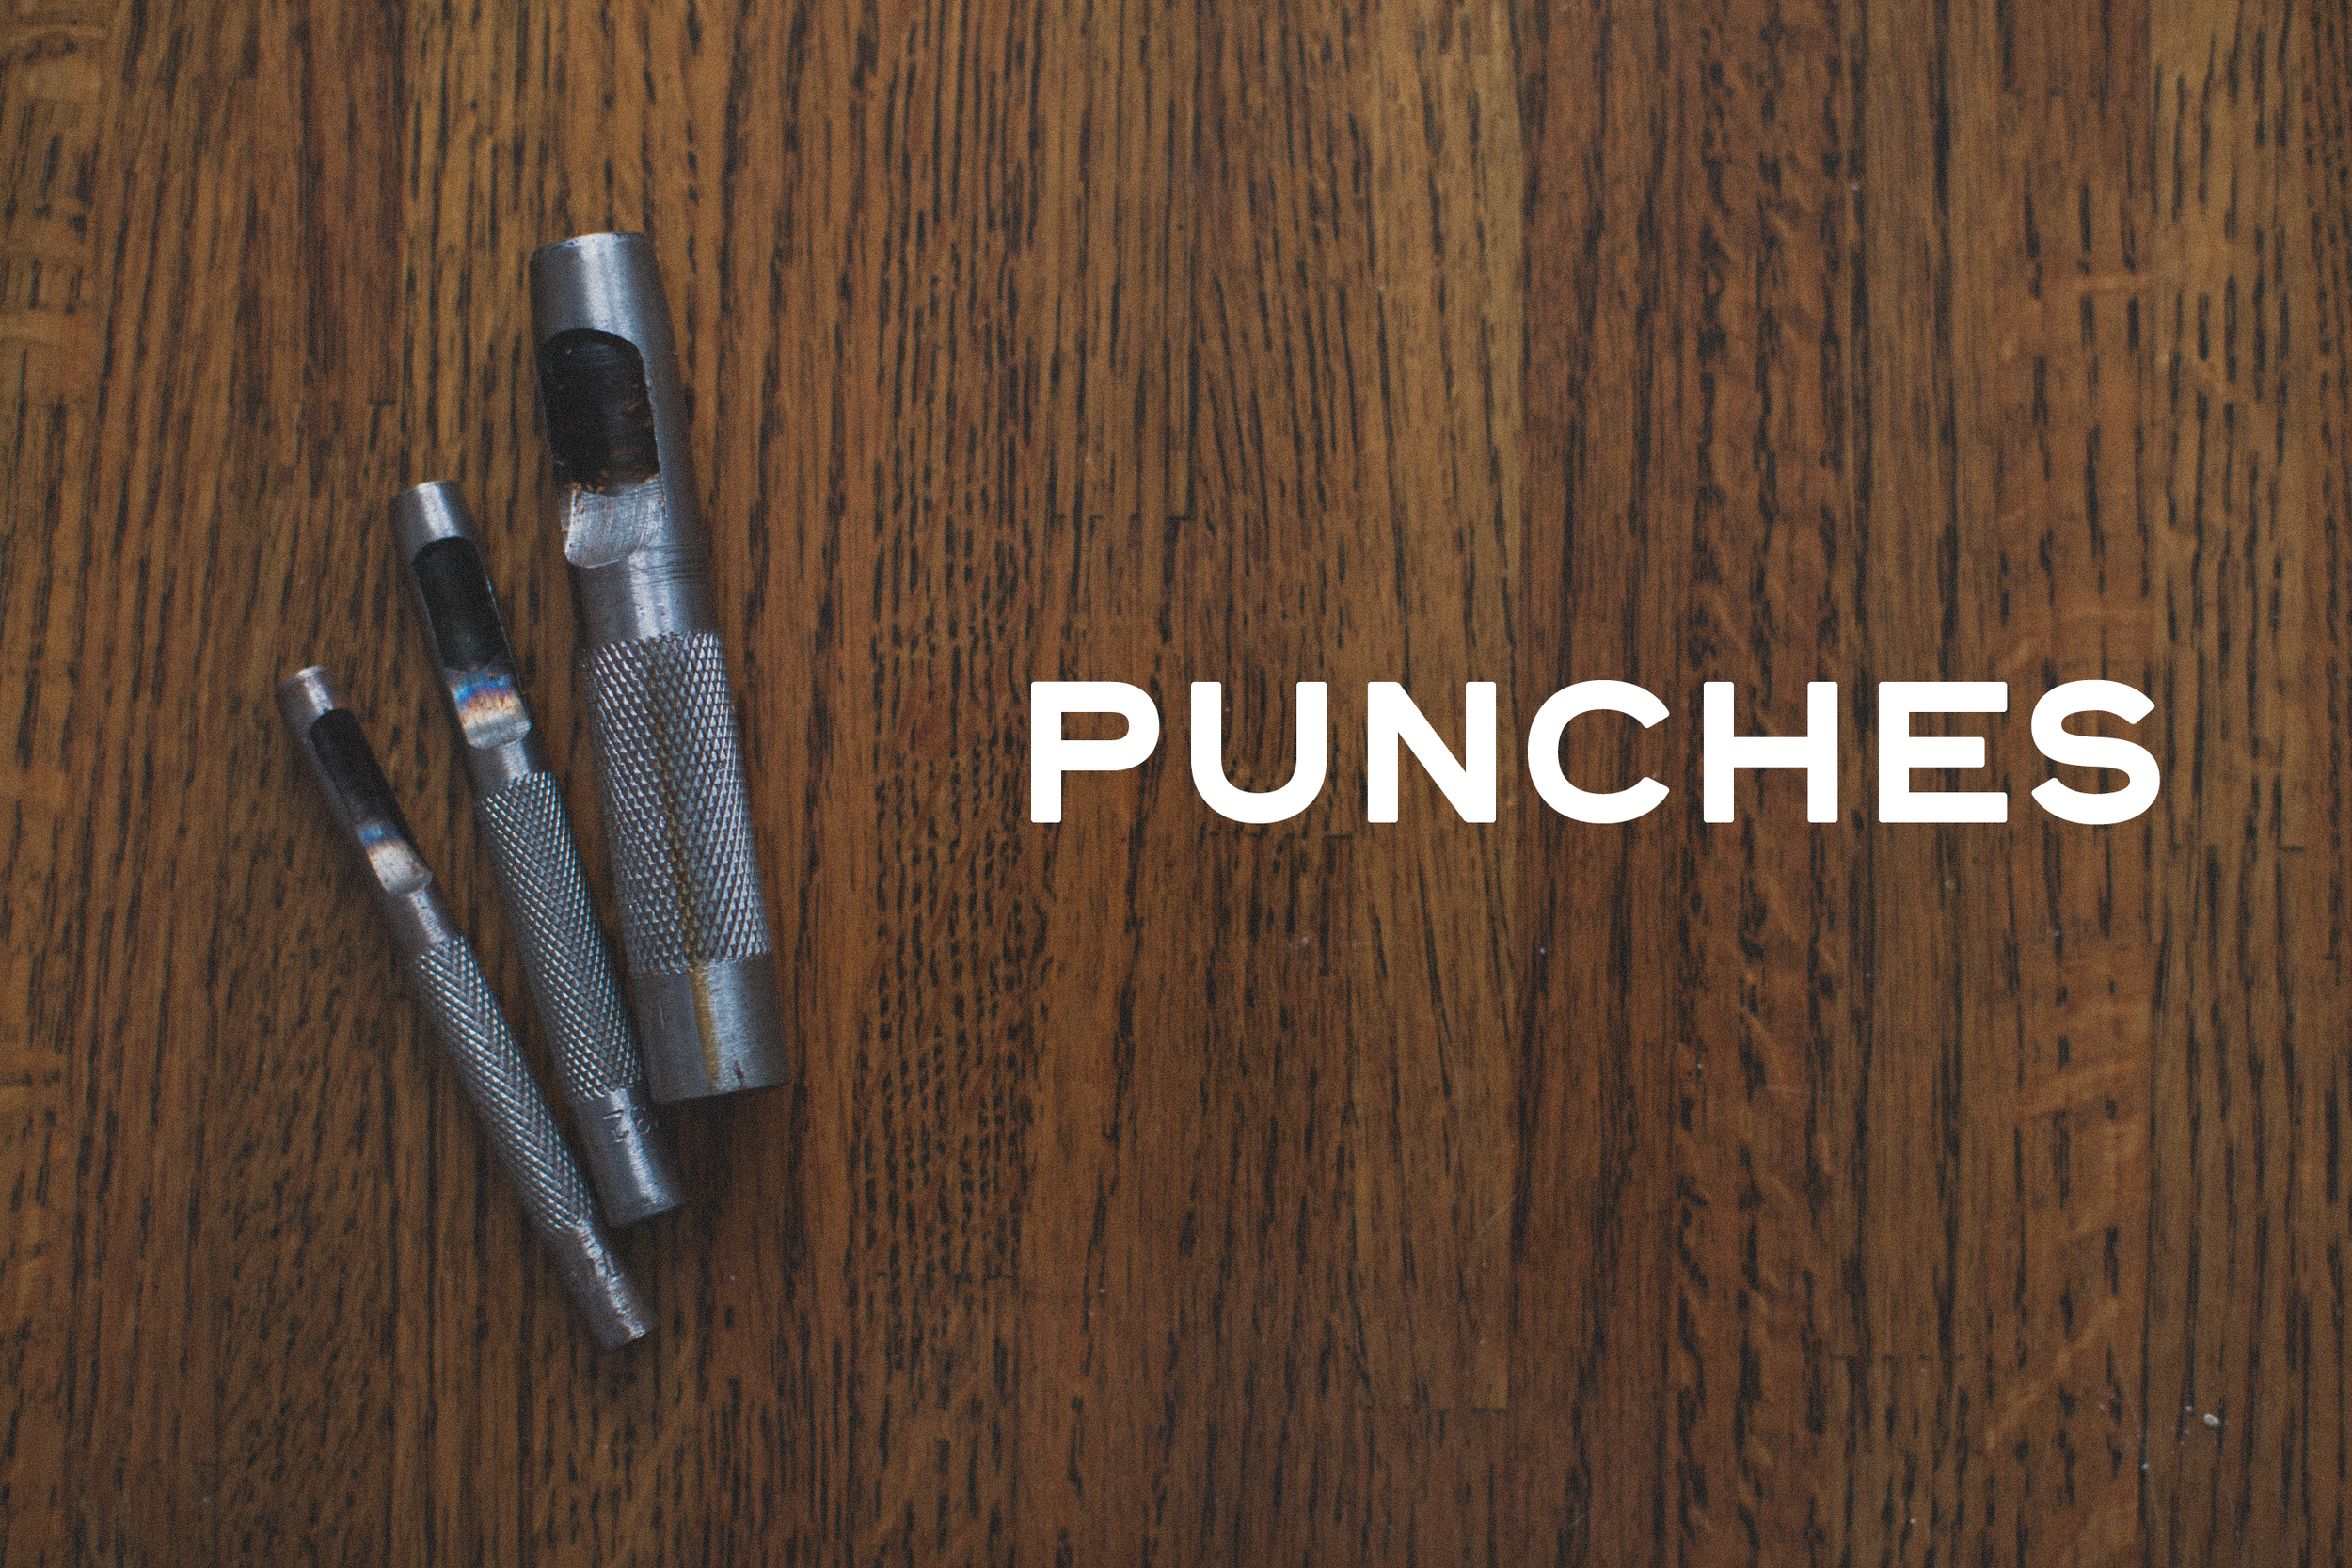
For punching RIVET HOles
Punches come in a number of different sizes depending on what size hole you need. Most times, these holes are used for rivets or for the tongue of a belt buckle.
Est. Price for a Set: $25

For attaching rivets and other hardware
When using a one sided domed rivet, a domed setting rod is needed. If not used the rivets will end up looking smashed after the setting process.
When using two sided rivets, an anvil, like the one depicted on the left, must be used. This will prevent either side from getting smashed during the setting process.
When using snaps a snap setter must be used to flatten the rod inside the snap.
Est. Price for a Set: $25